Date Posted: 21st Aug 2009 at 6:37 PM
Here I will be showing you how to make a side-by-side using nothing else by MS Paint (comes with all computers equipped with Windows.)
Step one:
Take your screen shot--
The best way to set up side-by-side comparison pictures is to make sure you place your sim in the most flattering way possible. When you have a source image you're wanting to compare to your sim you'll want to study the composition of the image. See how much lighting is available in the image, what kind, and where it's coming from. These are important points. If you're not familiar with light sources an easy way to remember it is that the darkest shadows are on the opposite side as the brightest lights. The brightest lights is where your source lighting is coming from. You need to set the scene accordingly. Strategically place lights where they're needed to create the shadows, or erase the shadows, you want. You might want to take this time also to change the room to look like the room your celebrity is in in their source image, but this isn't necessary and completely useless if they're outside.
You're going to want to make sure your sim is in side, at all times during picture taking! Delete all the windows in the room they're in, it will interfere with your lighting set up. I also delete any doorways or staircases or items they can interact with in the room, that way they don't try wandering off. (You can also press crtl+shift+c and type "testingcheatsenabled true" without the quotes, press enter, and then shift+click the mailbox and chose "make needs static," that way they won't have any urges to do anything.)
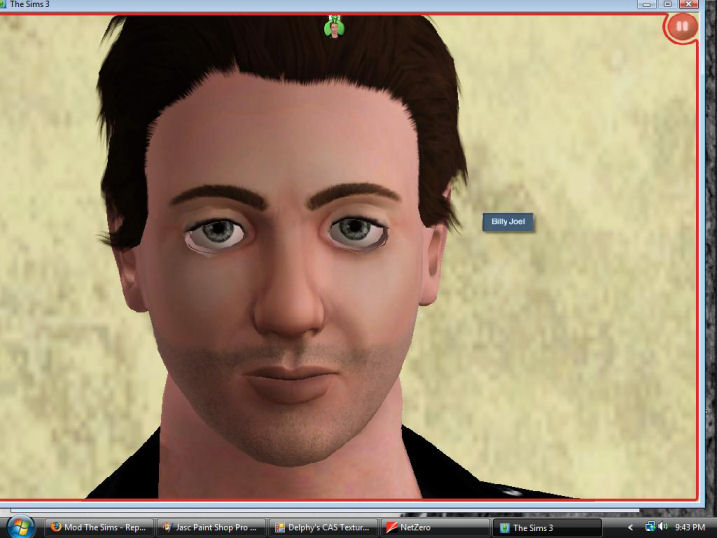
The next thing you have to take in for account is angle. What angle is your celebrity posed in? Is it straight on? Is the camera slightly below eye level? Slightly above eye level? To the right? to the left? You have to make all these type of observations. After you figure that all out you're going to want your sim in a neutral expression, so you'll have to wait for them to not smile and then press "p" or pause. (There is also a painting you can download here on MTS to choose which animations and when your sim does them.) So now you've got them "expressionless" and in pause mode! So press tab, after you align the camera just right, and then do any further camera alignment and press the print screen button, as you have been doing already.
Step two:
Image editing time!
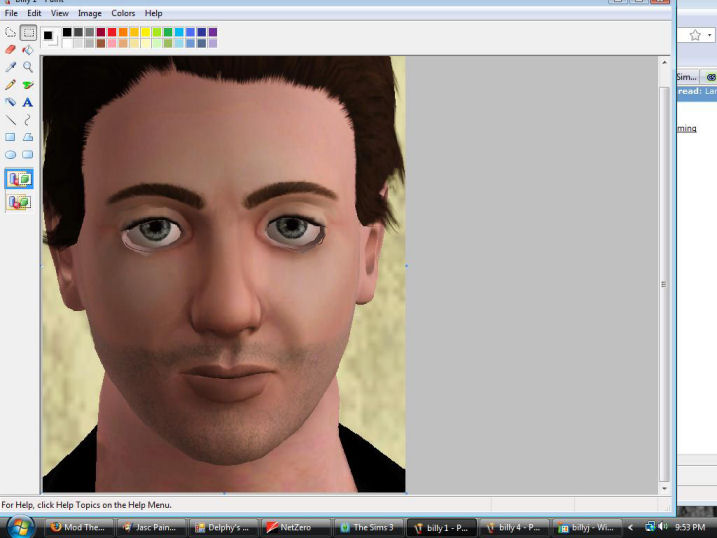
So now you've got your image positioned, illuminated, copied and ready to go...so go to the start menu > Accessories > Paint. Once it opens press ctrl+v or go to edit > paste.
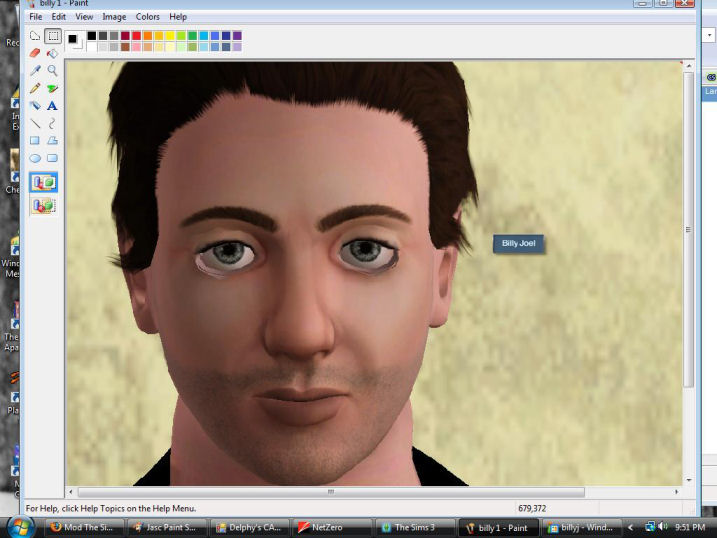
Yay! You got your screen shot! Alright, now, this part, if you do have an image editing program it may come in handy, but it's not entirely necessary. My Billy Joel sim's face isn't quite at the same angle as my source image, and that's nothing to do with how I took the image...it just needs to be rotated. However, MS Paint doesn't have a free rotate option, so I can just deal with how it is or, if I have another program, I can use the free rotate and put in a decimal value to get the perfect rotation. Alright, so since we're working with MS Paint I'll just deal with how it is.
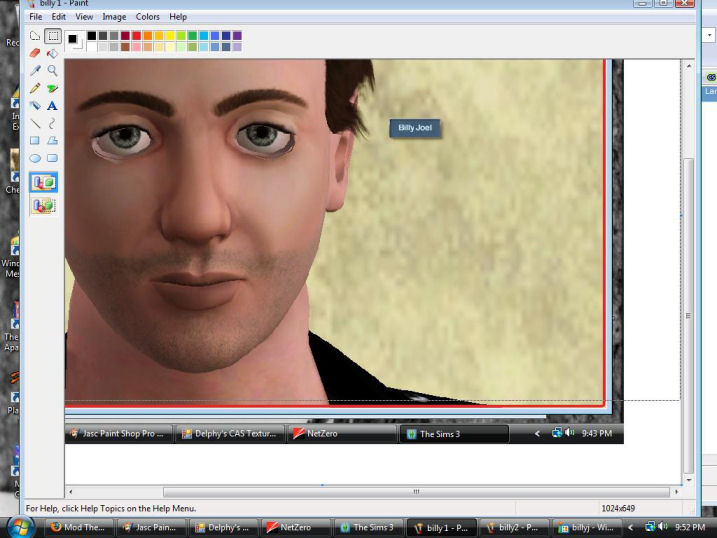
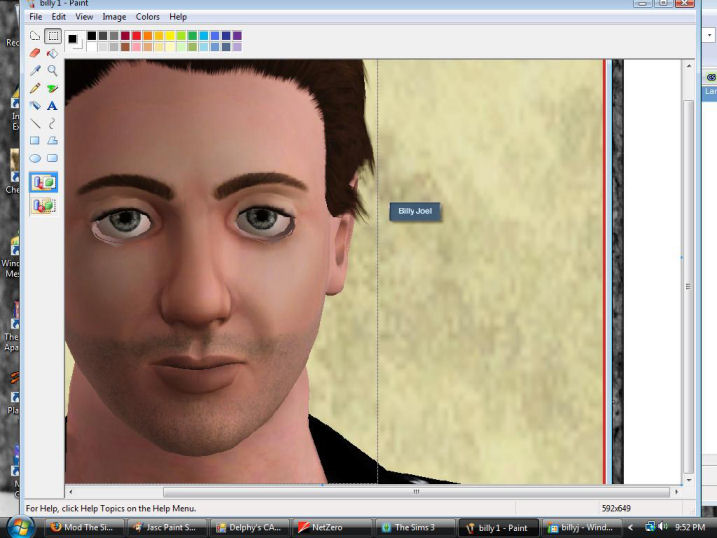
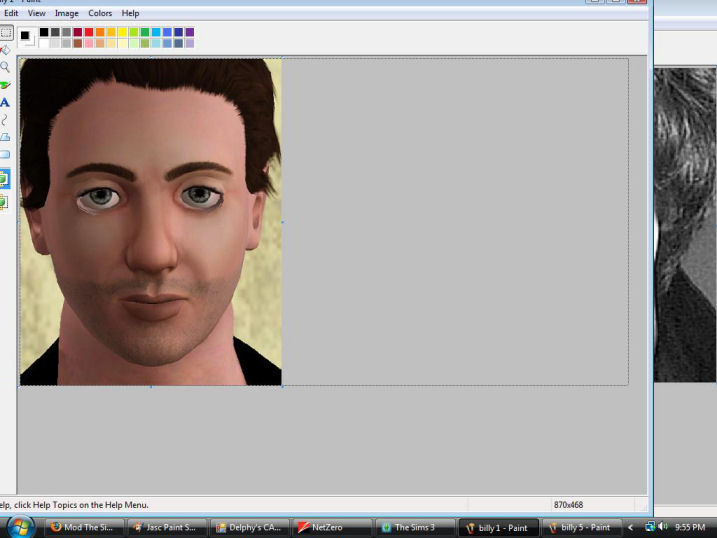
So now I need to crop. How do I do that? press ctrl+a or edit > select all. Then you'll need to make sure you're all the way up and all the way to the left side. You grab the image and move it up and over until you find the desired location. Then you need to go all the way down, click off so the image isn't selected anymore (just click once where it's white) and grab the bottom of the window up to meet the desired bottom of your image. Do the same for the right side of the image.
Once you do this you need to open your source pic in another window. So open another Paint program and open your image up. Sometimes the images aren't the same sizes...so if you need to resize your sim's image or you need to resize your source image do so by going to Image > Resize/Screw... > and then type the percent you want to resize to. Make sure you enter the same percentage for both the width and the height. You never want to size UP an image, always size down. So pic the large sized image and that will be the one you need to make smaller. Hopefully you don't have a super small image, though. You want to make sure your source pics are large. Anyway, if you at first don't get the % right for the resize, just undo and try again.
Step three:
Combining the side-by-side!
Now that you have your source image and your sim image at relatively the same size, it's time to combine them into one image! For this it is actually quite easy. I decided I wanted my sim's image on the left hand side and the source pic on the right. You just need to decided which way you want to have yours. Anyway, so you go to the image you plan to have on the left and you drag open the box again, fairly far. Both the bottom and side.
Once you do that, go to the other image, select all, copy, and return to the image you just expanded. Paste and then just simply move the pasted image to the right side of the existing image.
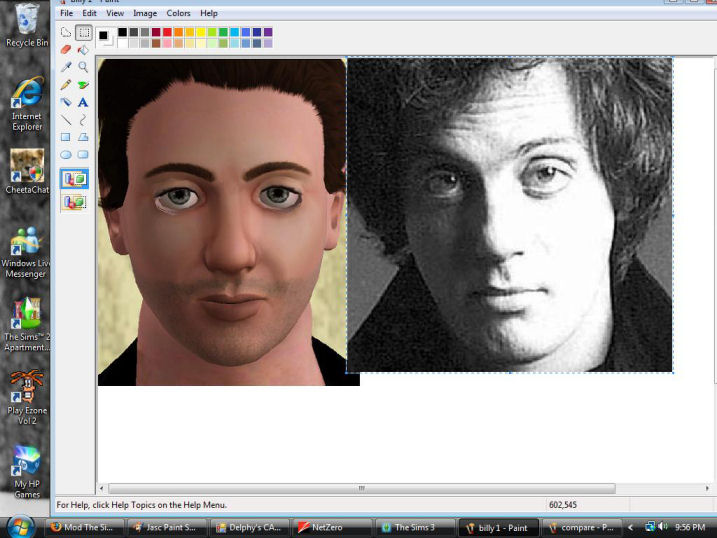
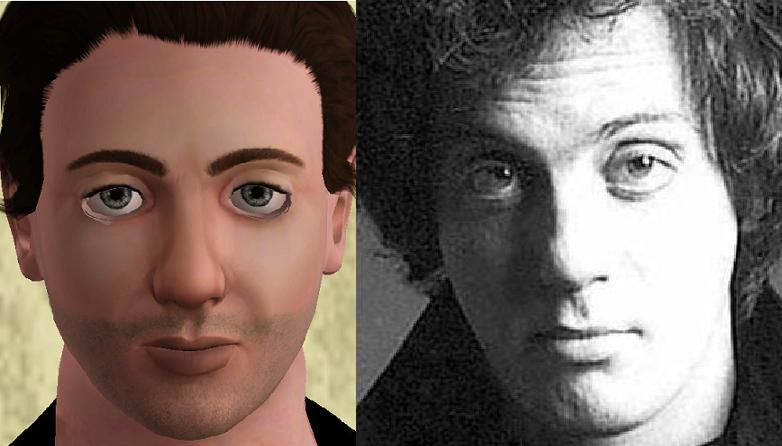
Align it the way you want it, then click off (on to a white section) and then again bring the sides back in to fit the image how you want it. After that just save it and it's all ready! yay! You just completed making a side-by-side!
 Sign in to Mod The Sims