 "Babymoon" - Pregnancy Couple Photography Poses
MTS has all free content, all the time. Donate to help keep it running.
SCREENSHOTS
Faces.jpg - width=1200 height=514
Pose1.jpg - width=1000 height=747
Pose2.jpg - width=1000 height=747
Pose3.jpg - width=750 height=872
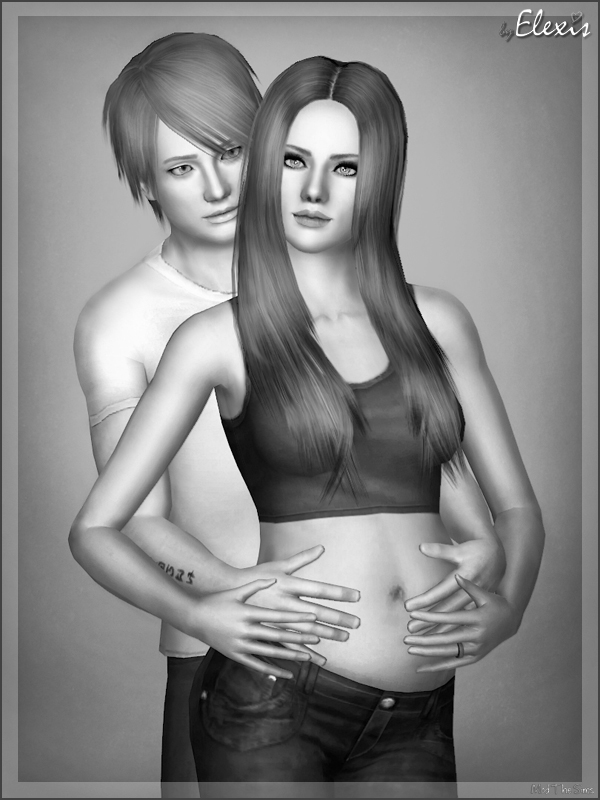
Photo1.jpg - width=600 height=800
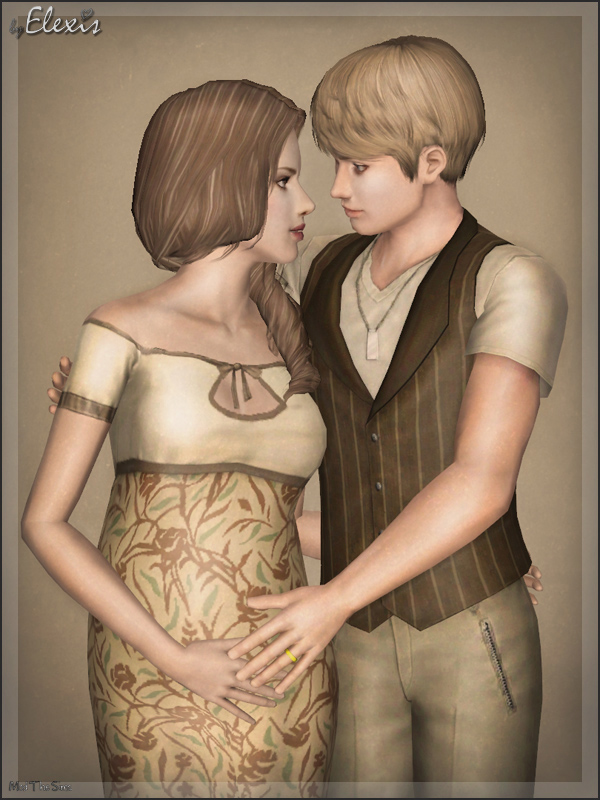
Photo2.jpg - width=600 height=800
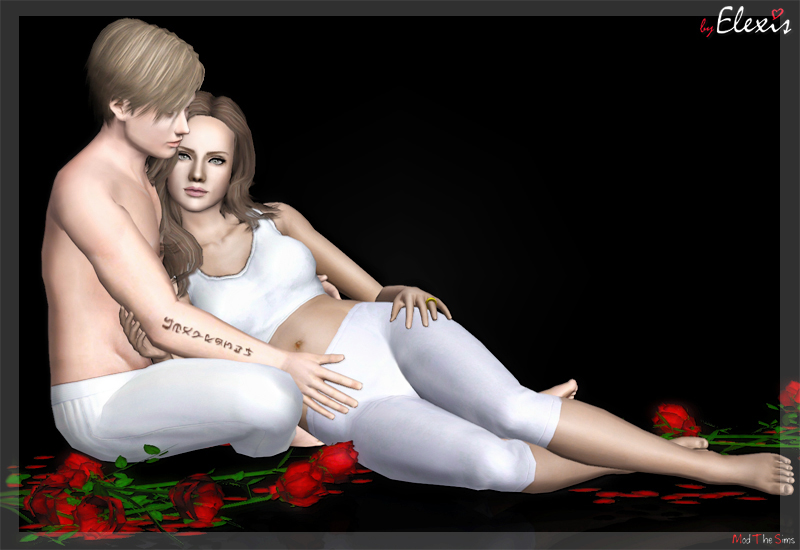
Photo3.jpg - width=800 height=550
Picked Upload!
This is a picked upload! It showcases some of the best talent and creativity available on MTS and in the community.
Created by Elexis
Uploaded: 8th Mar 2012 at 7:46 PM
Updated: 13th Feb 2013 at 9:43 PM
Updated: 13th Feb 2013 at 9:43 PM


Shortly about the origins
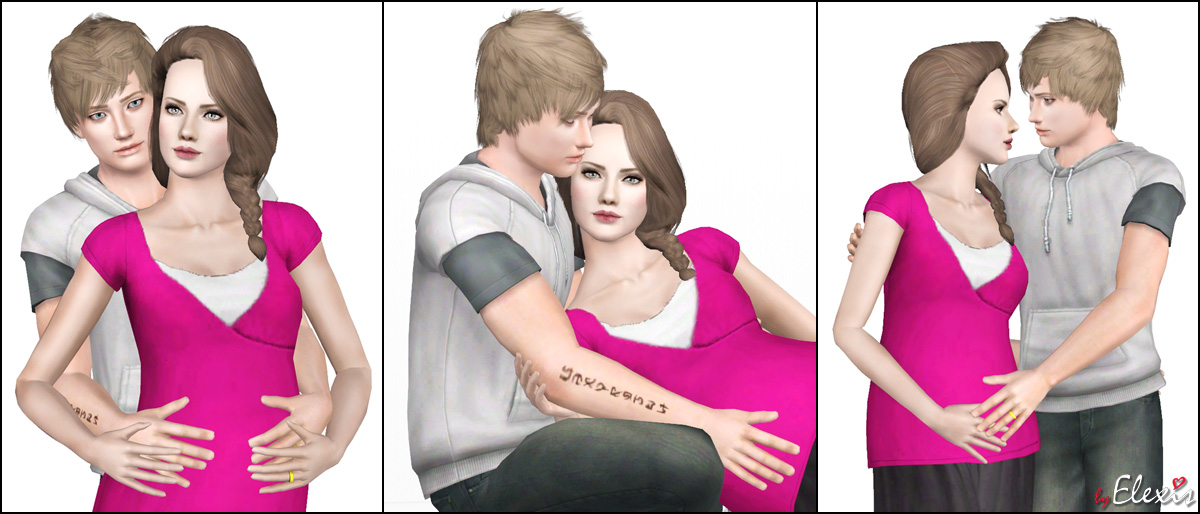
Some time ago, a very kind Finn won "Picture This!" mini contest on our site and donated the prize (3 pose requests) to the other contestants. One of them - Heaven, requested the maternity pose suitable for legacy and storytelling pictures. As there are lots of various maternity poses available on the web already and one pose isn't much, I wanted to make something more interesting and that's where the idea of making double maternity poses was born. Requested pose - female pose in the first picture with the hands on the belly (a_elexis_fam1). I've made 5 additional poses of my choice to combine them in a matching set - 3 couple poses, 6 poses in total

[CENTER]

Pose names:
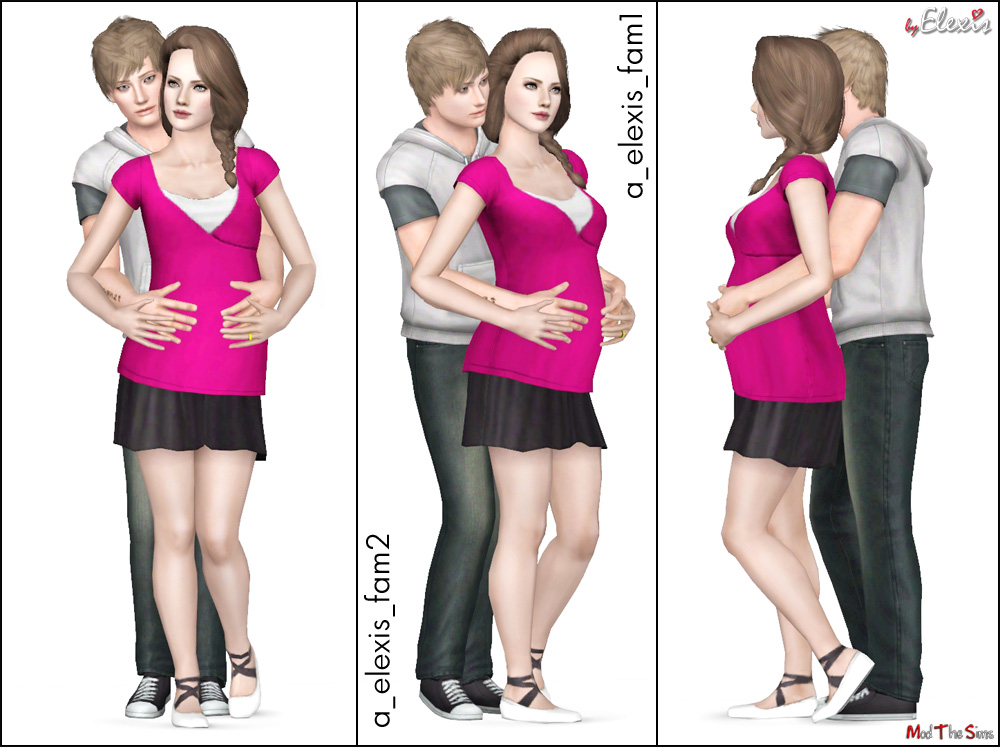
a_elexis_fam1 - Female pose standing in the front, hands on the belly.
a_elexis_fam2 - Partner pose standing in the back.
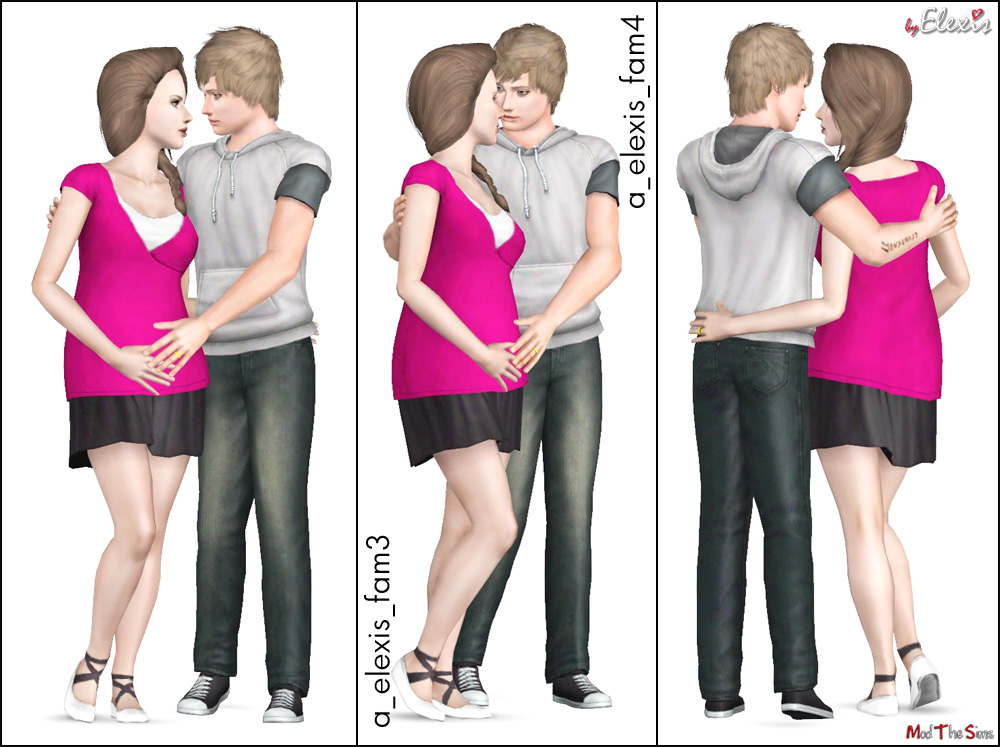
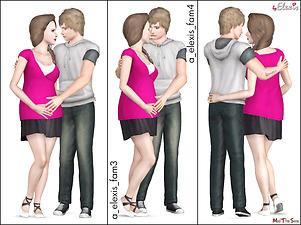
a_elexis_fam3 - Female pose standing on the left.
a_elexis_fam4 - Partner pose standing on the right.
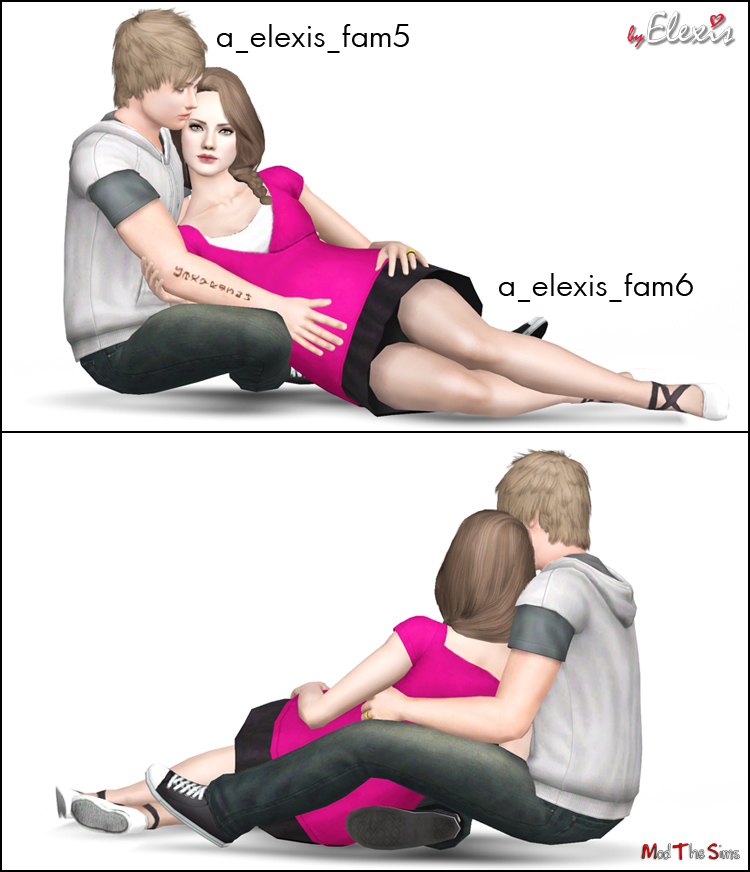
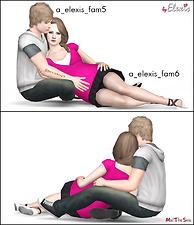
a_elexis_fam5 - Partner pose sitting on the left.
a_elexis_fam6 - Female pose lying on the right.
Using instructions:
- Put the .package file in the Packages folder and start the game.
- Go to the Decor section in Buy Mode and place the Pose Player somewhere on the lot.
- Click on the Pose Player and choose the "Select a pose" option, choose the needed pose from the list.
- Use "Moveobjects On" cheat to place both Sims in one tile to automatically align the couple pose.
CC used:
Over The Shoulder Braid Hair by The Store.
A Little Layered Hair by The Store.
Curls on the Side Hair by The Store.
Catch a Wave Hair by The Store.
Lithium Kiss Hair by me.
Flora Hair 12 by XM Sims.
European Skin by Lemonleaf.
Non-default skin by Ephemera
Simply Sweet Lipstick Set by me.
Bare Naturals Eyebrows by me.
Watercolour Contacts by me.
Winged Glamorous Eyeliner by Emmzx.
Maternity clothes by Poppy Sims.
Additional Credits:
Huge thanks to Buzzler, Cmomoney and Leesester

This mod is a custom pose or animation. This means that you will need the Pose Player or Animation Player mod by cmomoney installed in order to use the download in your game.
| Filename | Size | Downloads | Date | |||||
|
BabymoonPosesByElexis.rar
Size: 32.9 KB · Downloads: 54,280 · 8th Mar 2012 |
32.9 KB | 54,280 | 8th Mar 2012 | |||||
| For a detailed look at individual files, see the Information tab. | ||||||||
Key:
- - File was updated after upload was posted
Install Instructions
Quick Guide:
1. Click the file listed on the Files tab to download the file to your computer.
2. Extract the zip, rar, or 7z file. Now you will have either a .package or a .sims3pack file.
For Package files:
1. Cut and paste the file into your Documents\Electronic Arts\The Sims 3\Mods\Packages folder. If you do not already have this folder, you should read the full guide to Package files first: Sims 3:Installing Package Fileswiki, so you can make sure your game is fully patched and you have the correct Resource.cfg file.
2. Run the game, and find your content where the creator said it would be (build mode, buy mode, Create-a-Sim, etc.).
For Sims3Pack files:
1. Cut and paste it into your Documents\Electronic Arts\The Sims 3\Downloads folder. If you do not have this folder yet, it is recommended that you open the game and then close it again so that this folder will be automatically created. Then you can place the .sims3pack into your Downloads folder.
2. Load the game's Launcher, and click on the Downloads tab. Find the item in the list and tick the box beside it. Then press the Install button below the list.
3. Wait for the installer to load, and it will install the content to the game. You will get a message letting you know when it's done.
4. Run the game, and find your content where the creator said it would be (build mode, buy mode, Create-a-Sim, etc.).
Extracting from RAR, ZIP, or 7z: You will need a special program for this. For Windows, we recommend 7-Zip and for Mac OSX, we recommend Keka. Both are free and safe to use.
Need more help?
If you need more info, see:
- For package files: Sims 3:Installing Package Fileswiki
- For Sims3pack files: Game Help:Installing TS3 Packswiki
Also Thanked - Users who thanked this download also thanked:
Mad Creator
Please enjoy using my creations! A credit whenever it's due would be nice, but not required :)

 Sign in to Mod The Sims
 "Babymoon" - Pregnancy Couple Photography Poses

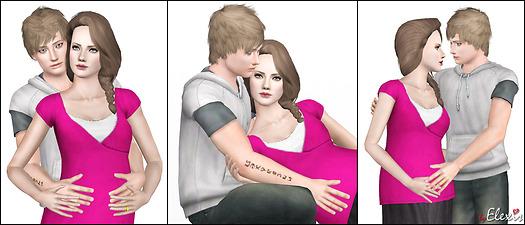



 In order to use these poses, you will need to download Pose Player by Cmomoney
More Downloads BETA
Here are some more of my downloads: