 Trucks Ford-AA and GAZ-AA

Screenshot-24.jpg - width=1920 height=1200
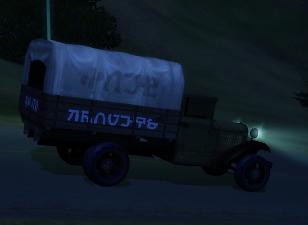
Soviet GAZ-AA with tent
Screenshot-19.jpg - width=1920 height=1200
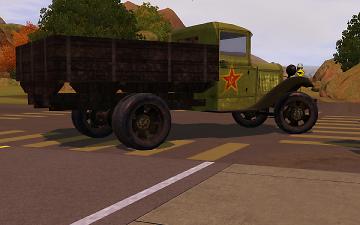
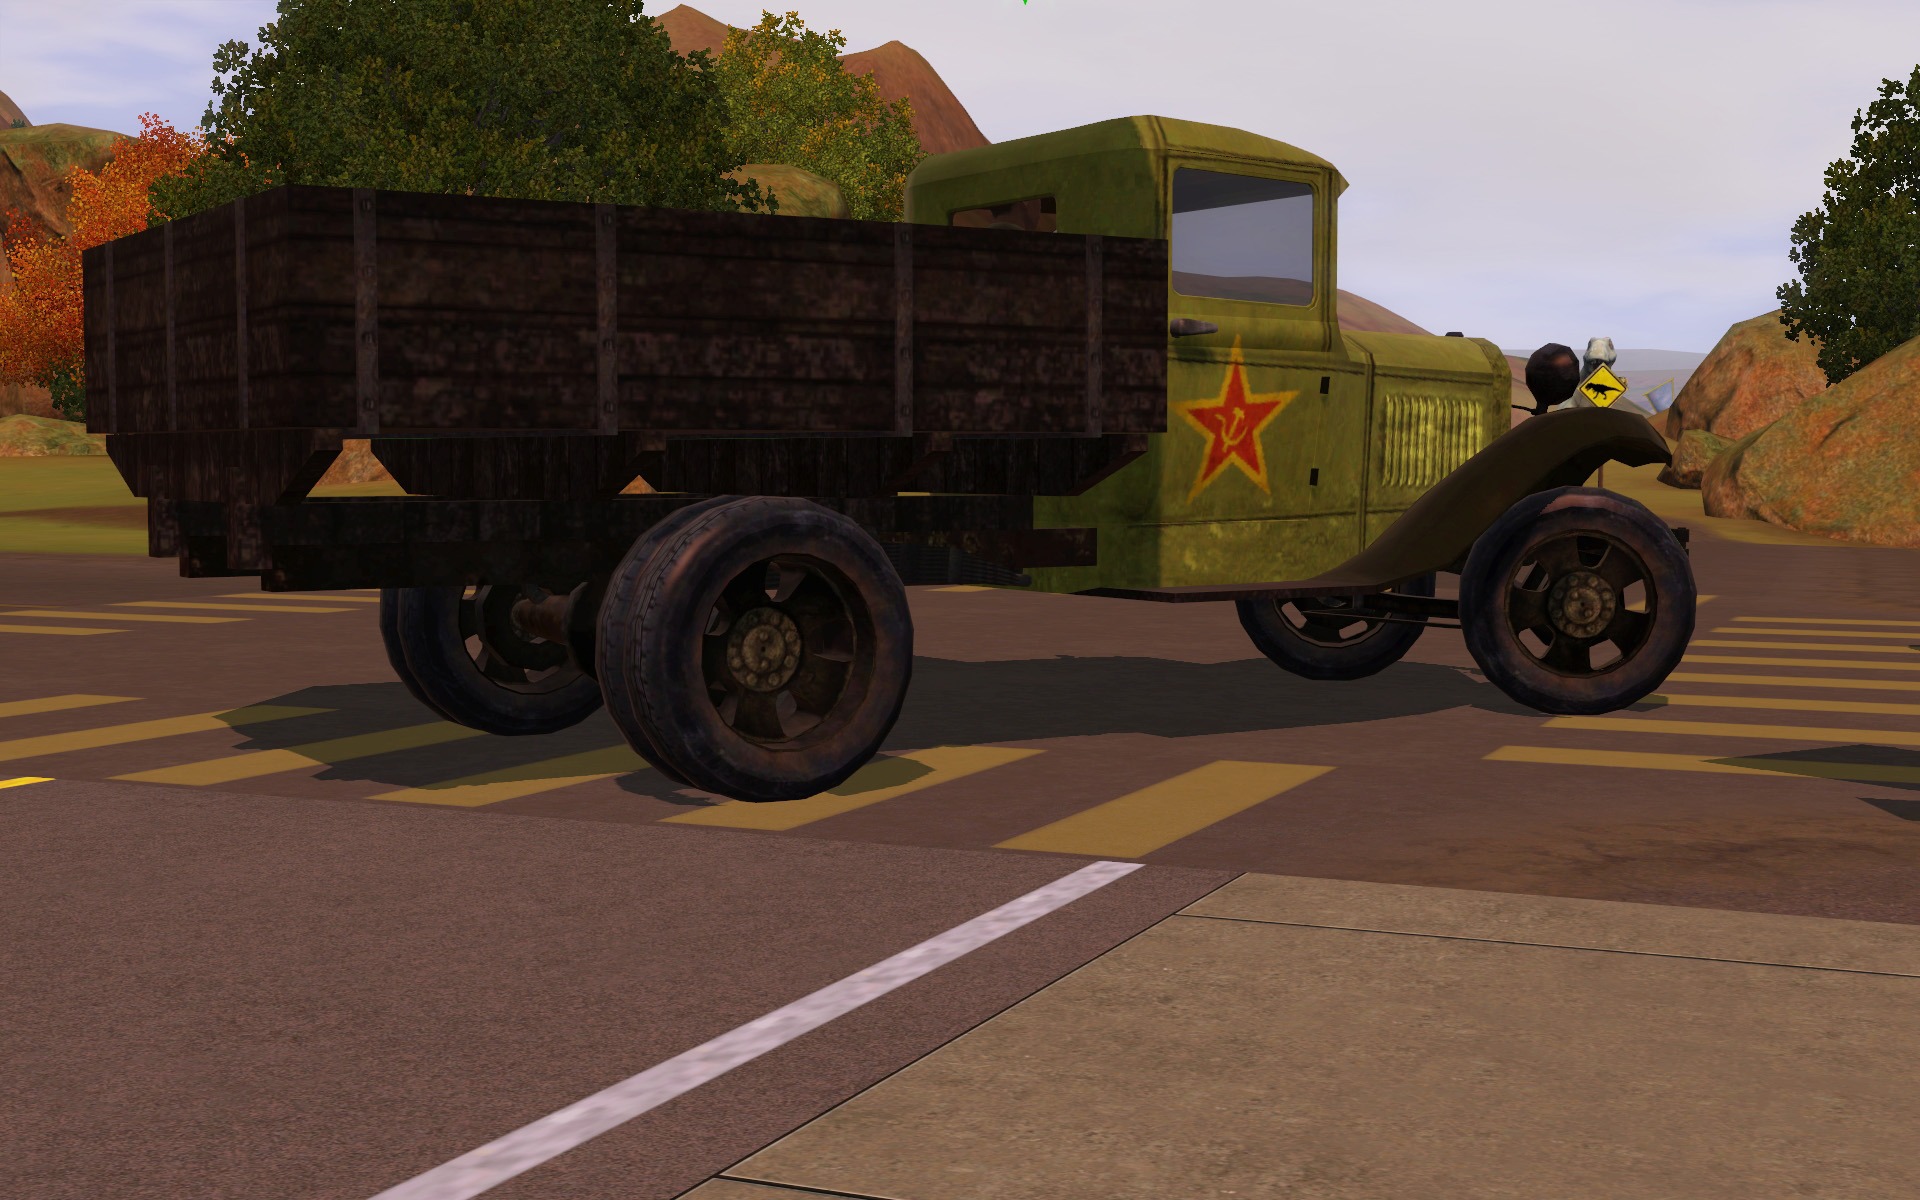
Soviet GAZ-AA military
Screenshot-53.jpg - width=1444 height=1054
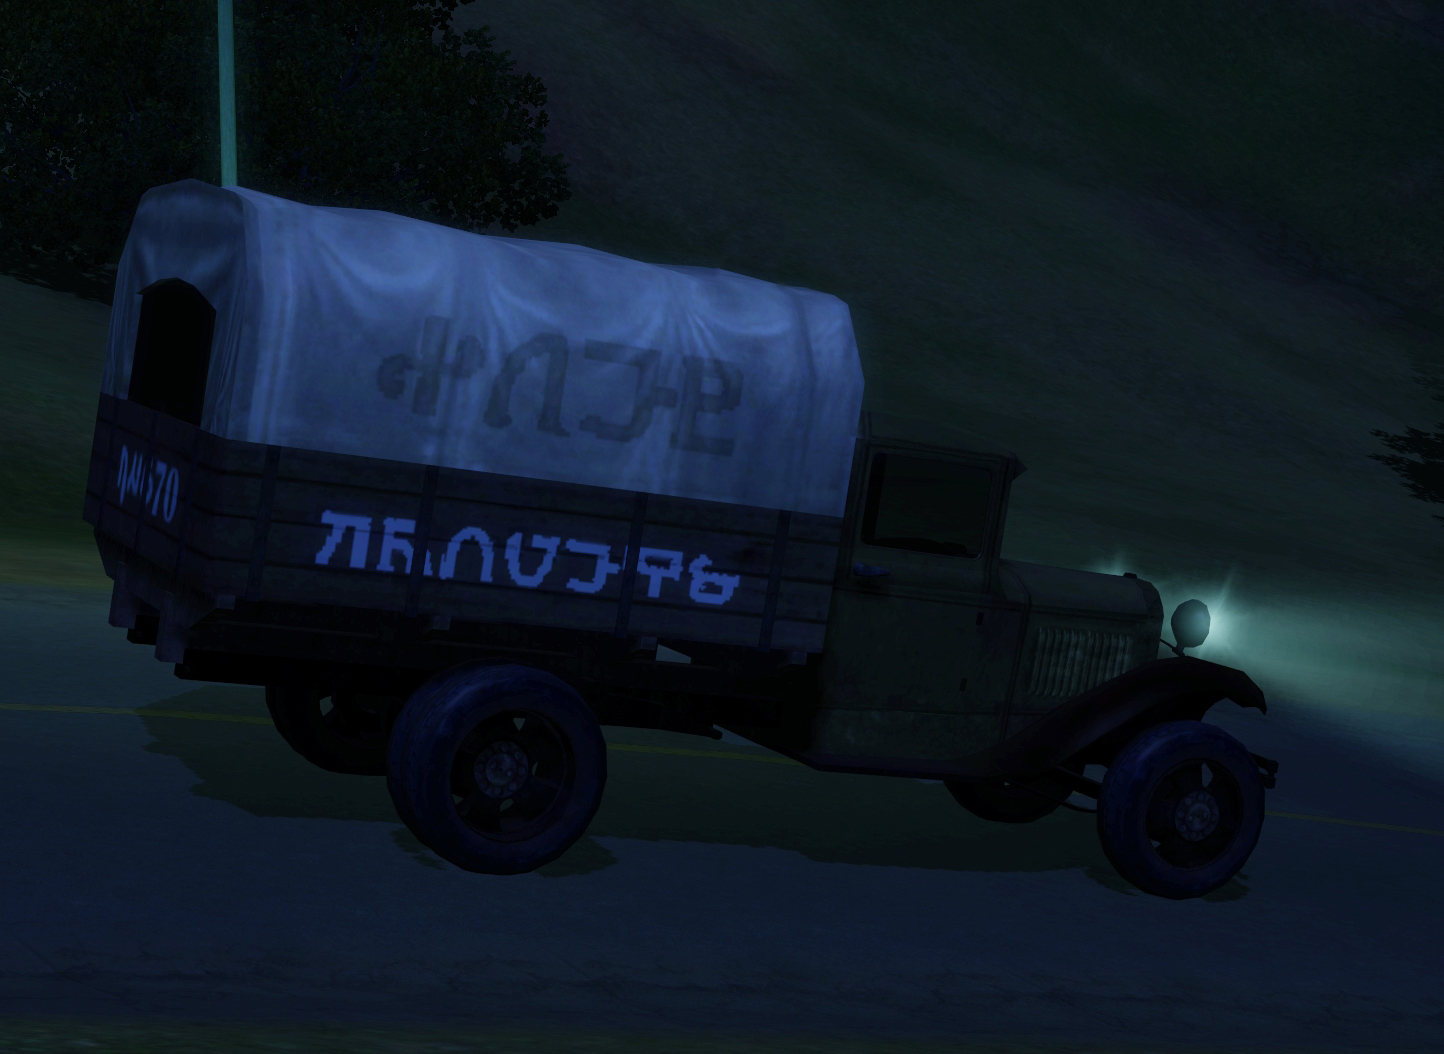
Soviet GAZ-AA with tent on night
Screenshot-59 copy.jpg - width=1354 height=1018
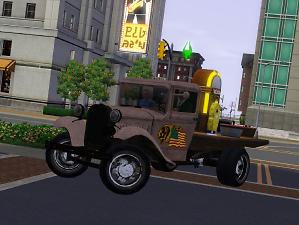
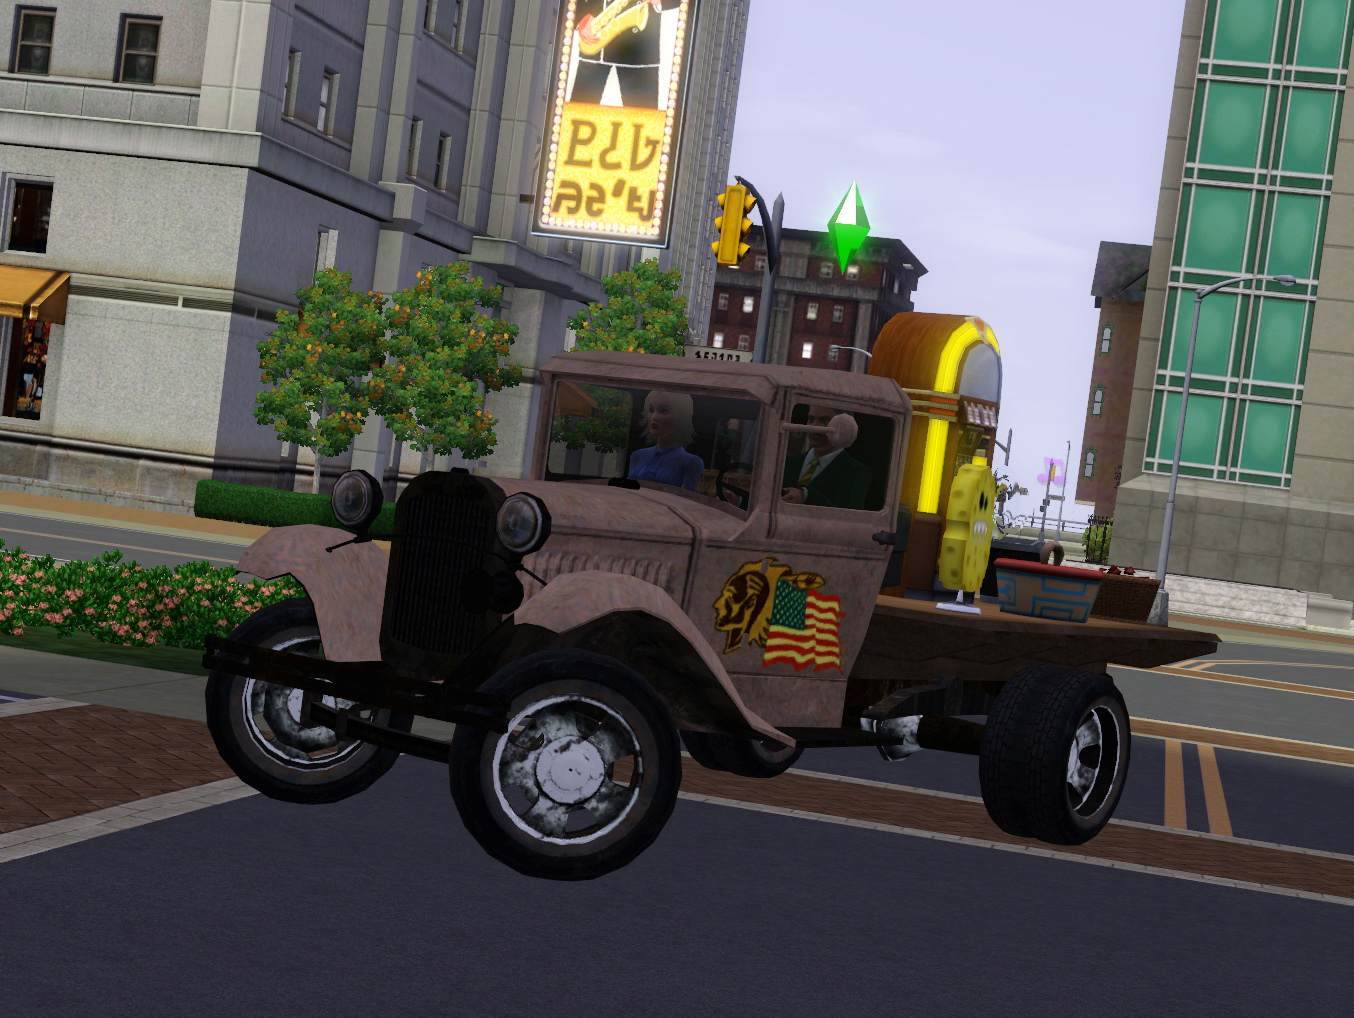
American Ford-AA with Jukebox and other things in carrige
Screenshot-72.jpg - width=1920 height=1200
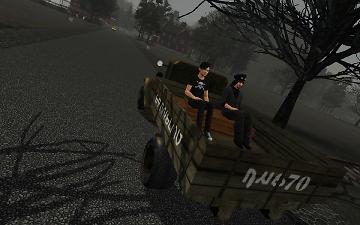
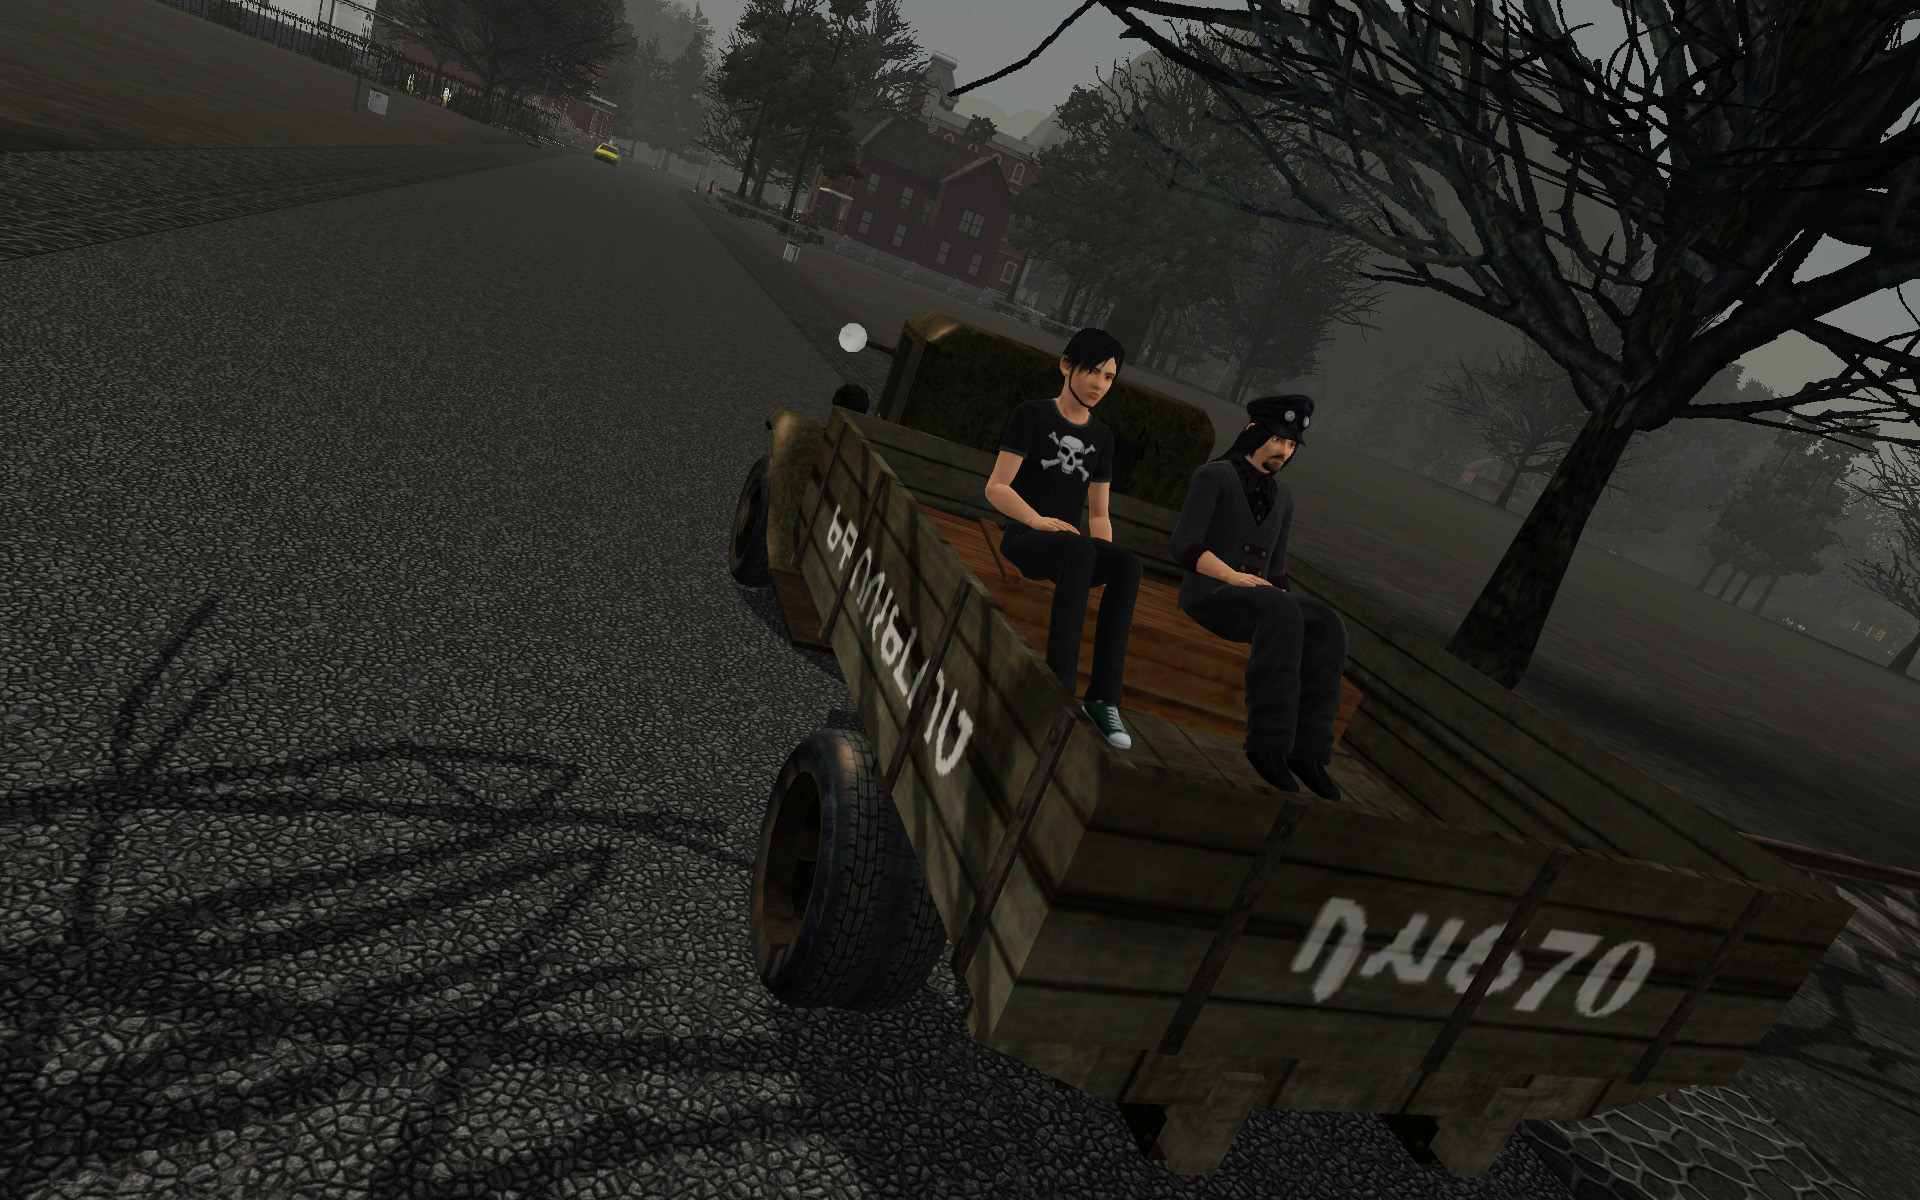
Soviet GAZ-AA in Moonlight Falls
Screenshot-81 copy.jpg - width=1352 height=920
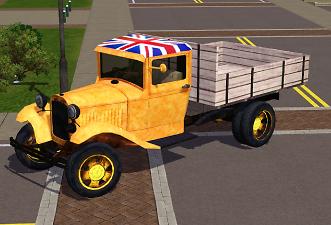
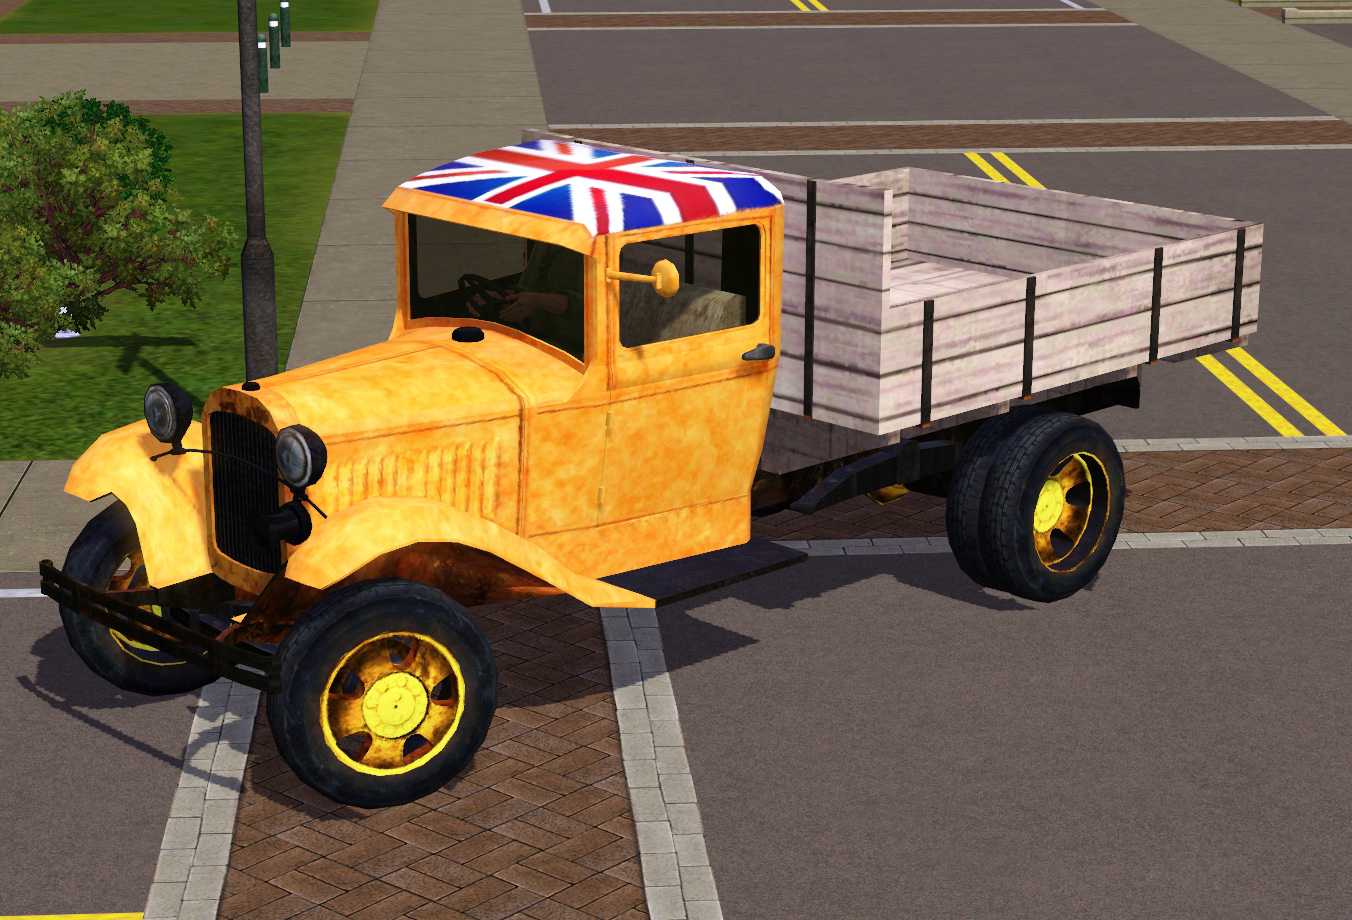
British Ford-AA
Screenshot-86.jpg - width=1920 height=1200
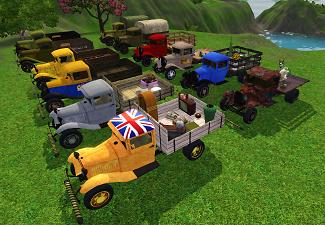
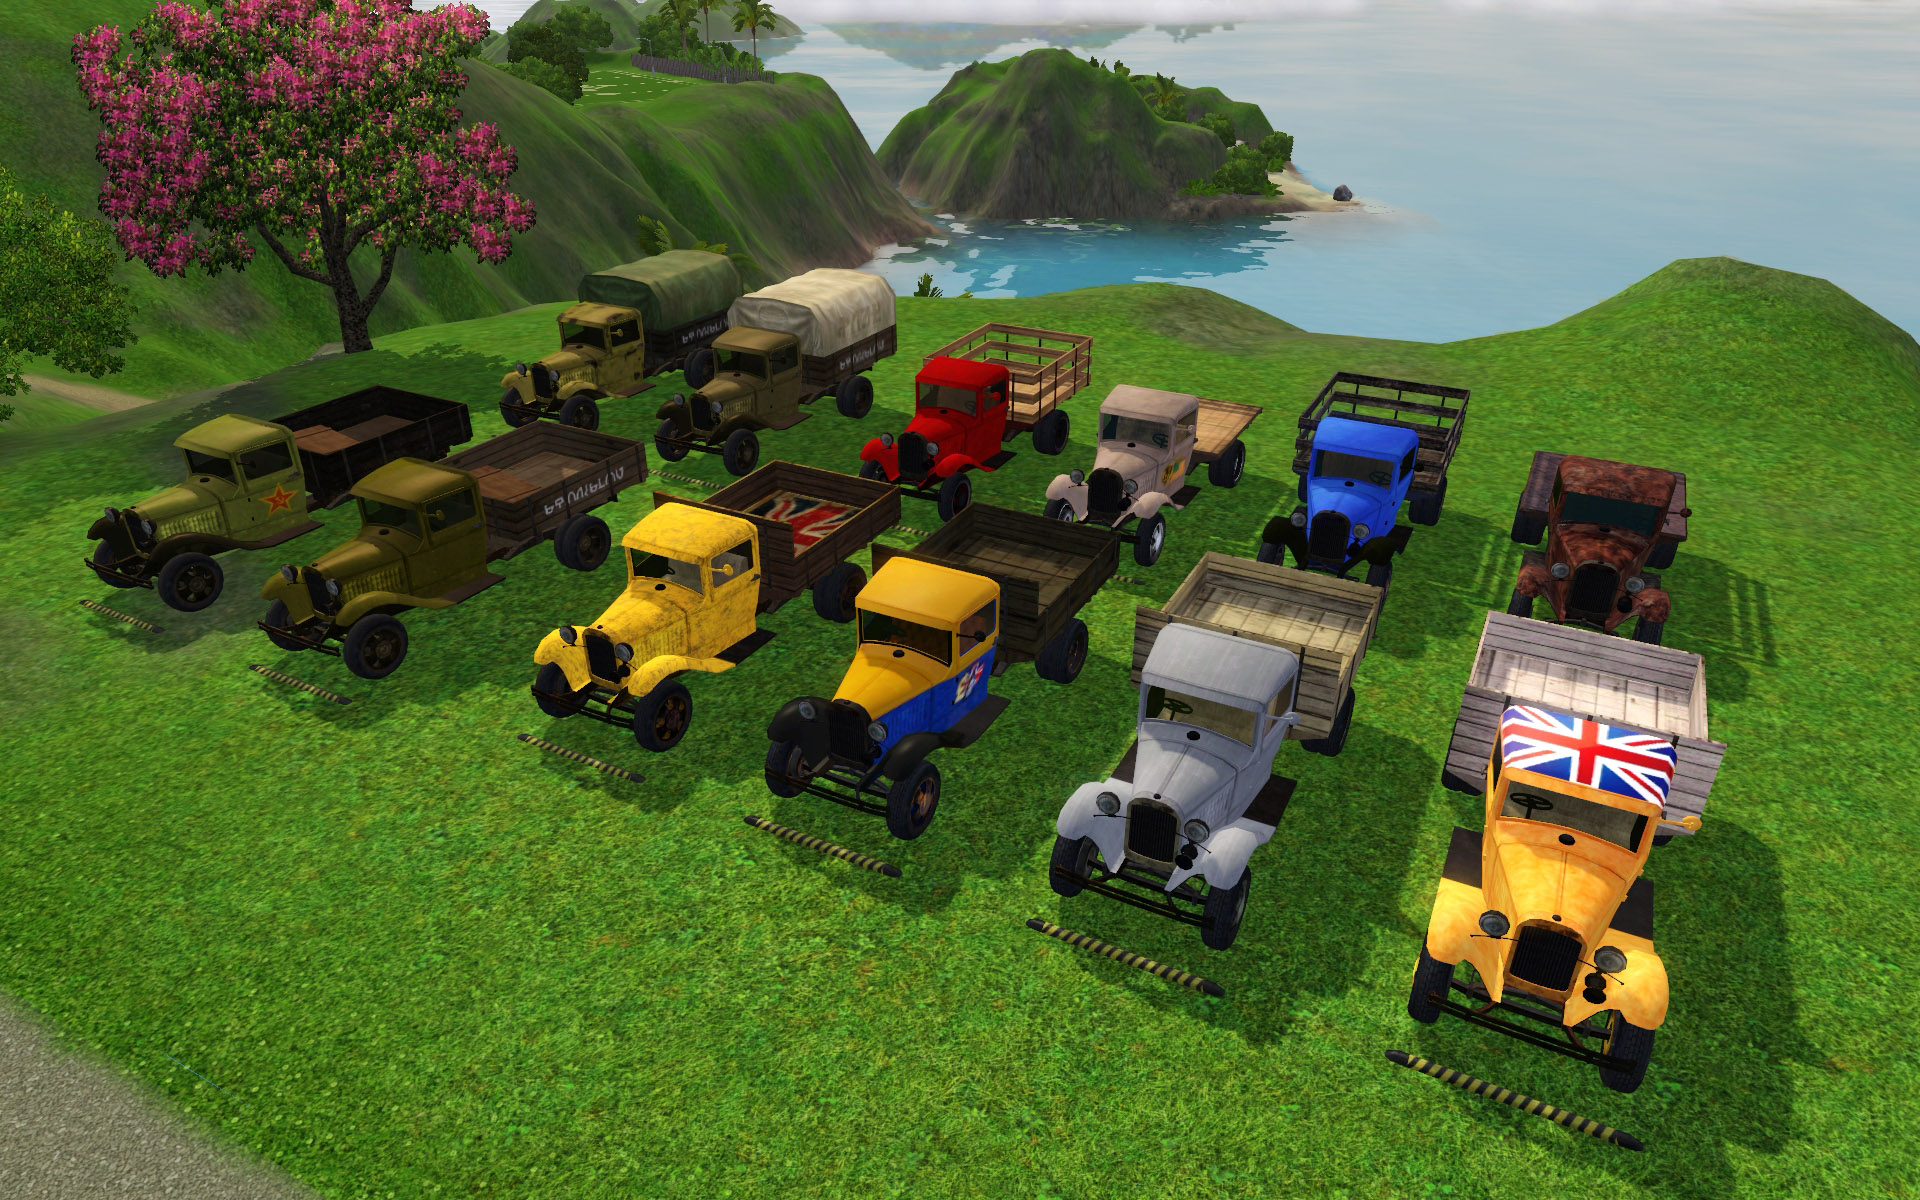
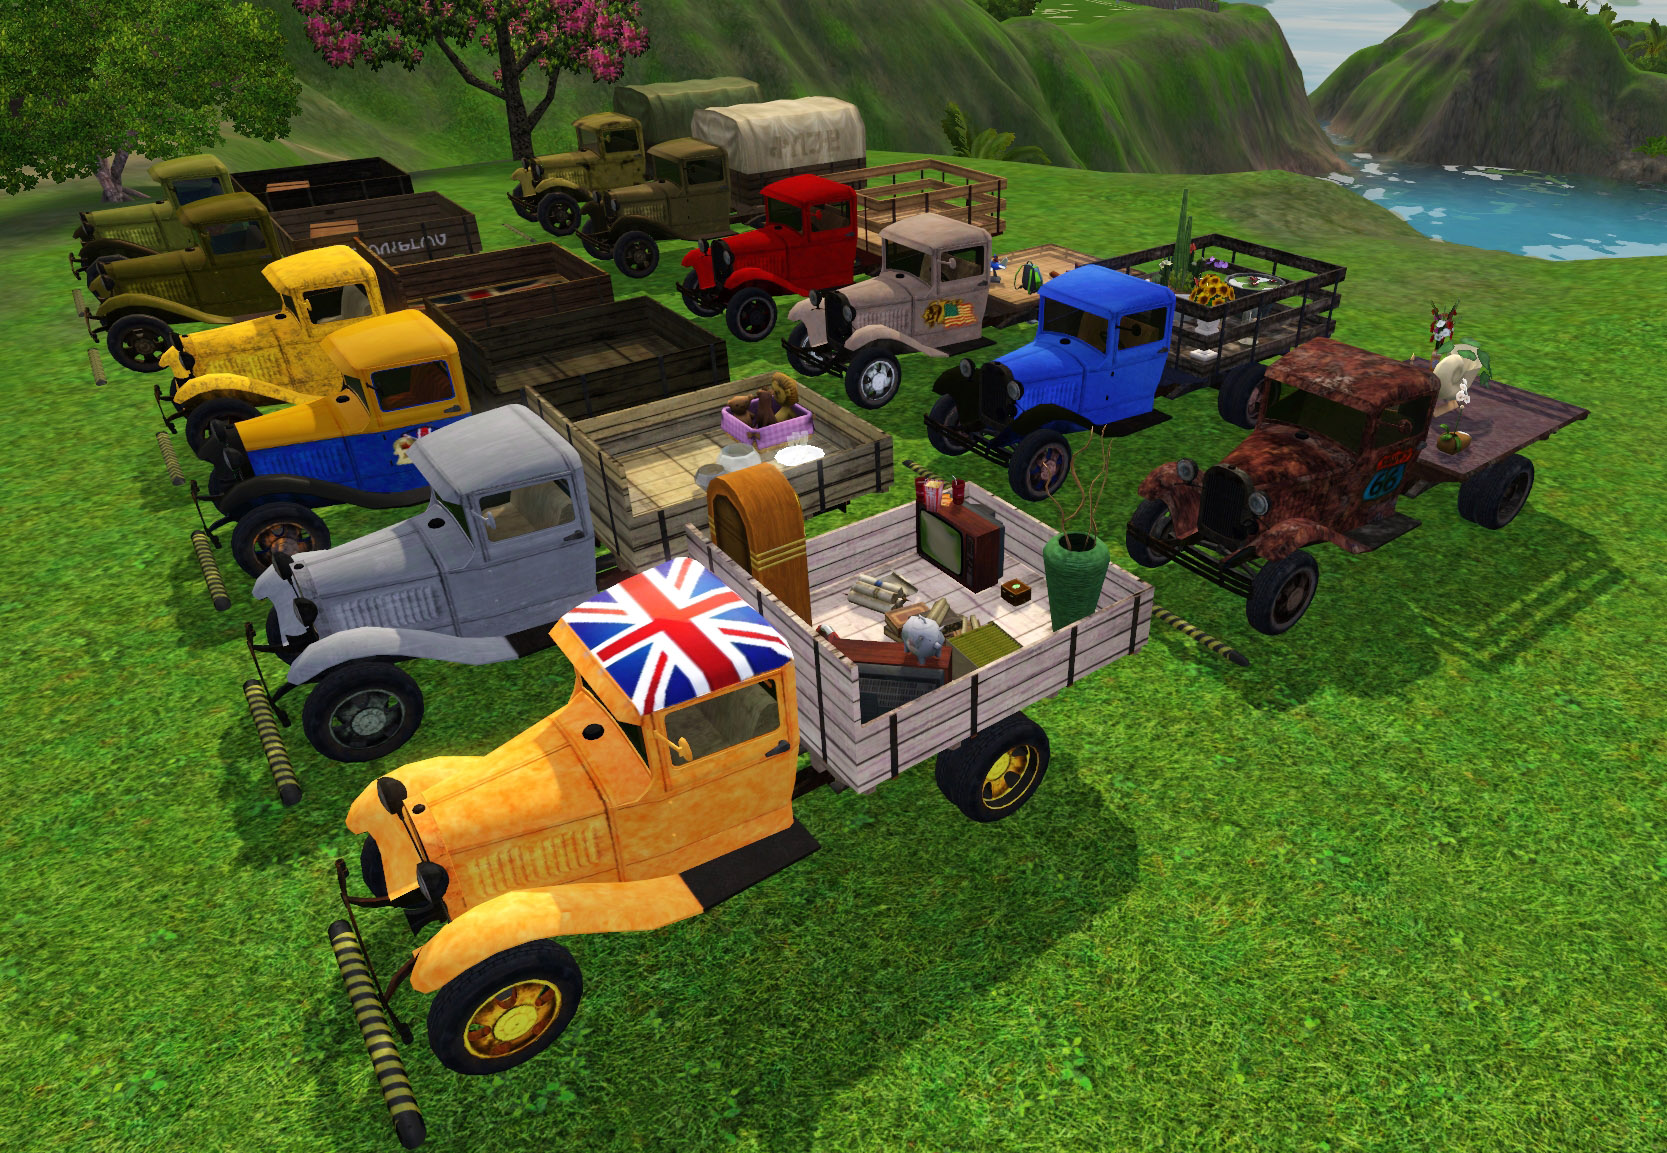
All truck variants
Screenshot-88.jpg - width=1667 height=1153
All truck variants with some things in carrige
Screenshot-73.jpg - width=1920 height=1200
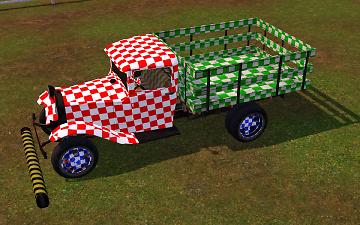
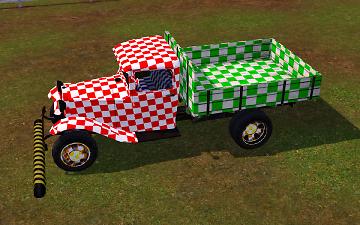
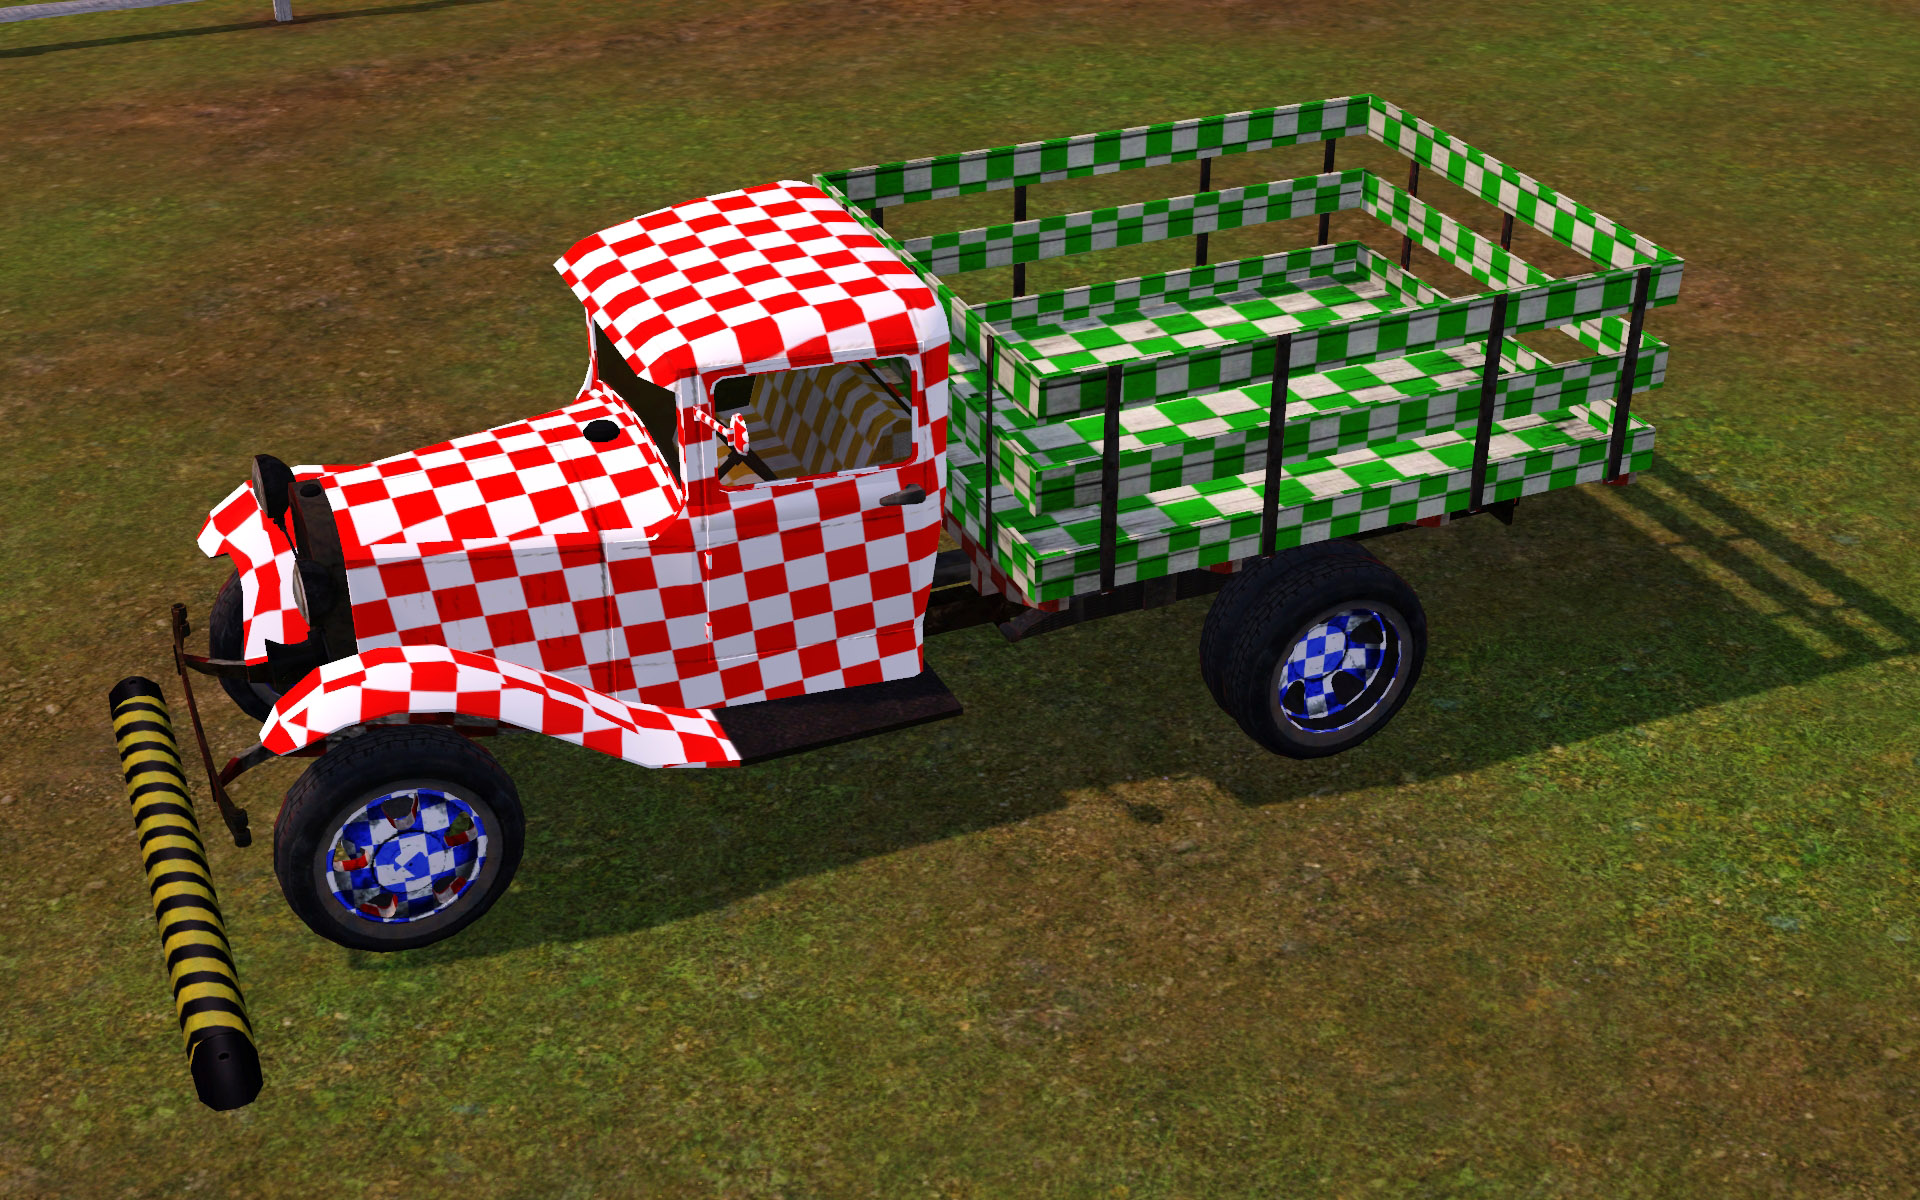
American Ford-AA Mask
Screenshot-74.jpg - width=1920 height=1200
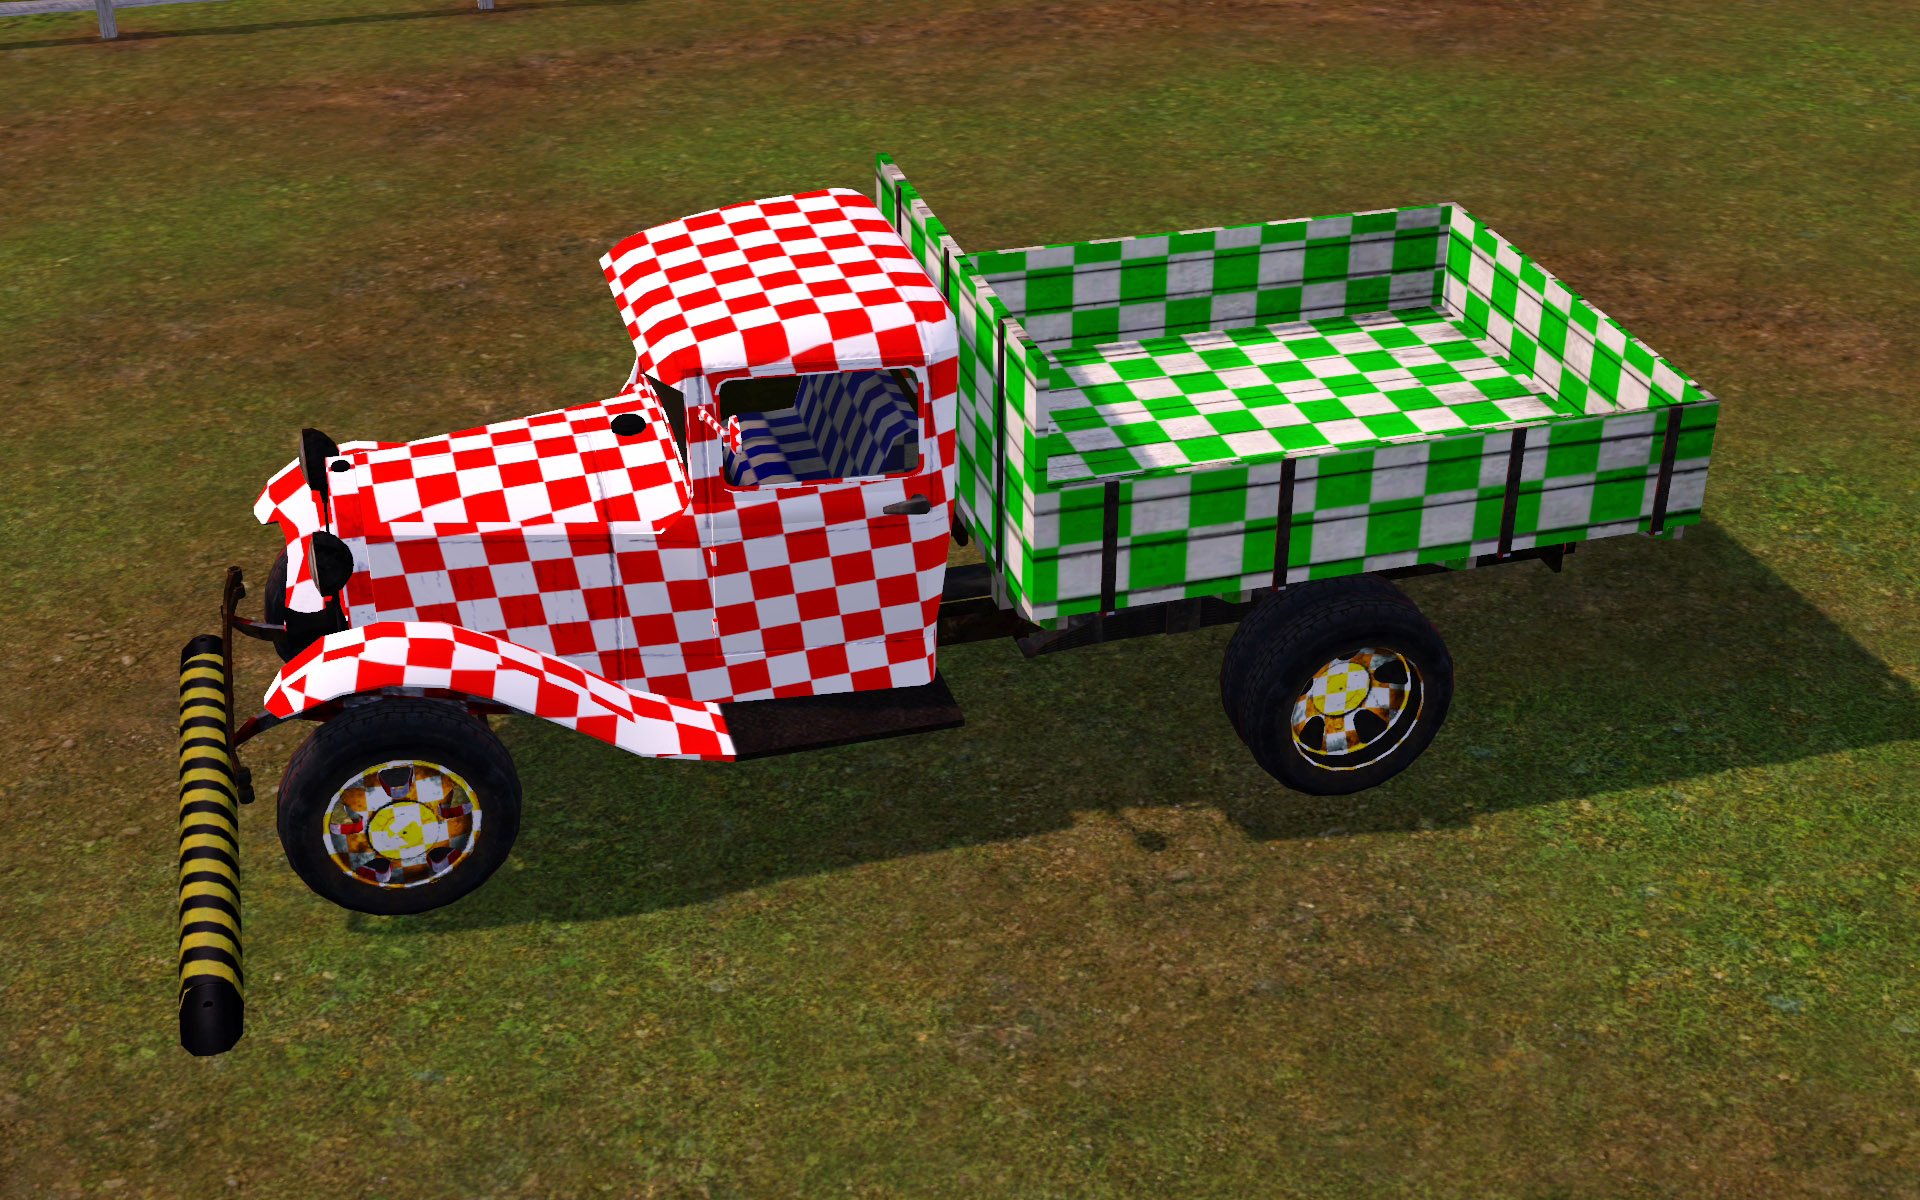
British Ford-AA Mask
Screenshot-75.jpg - width=1920 height=1200
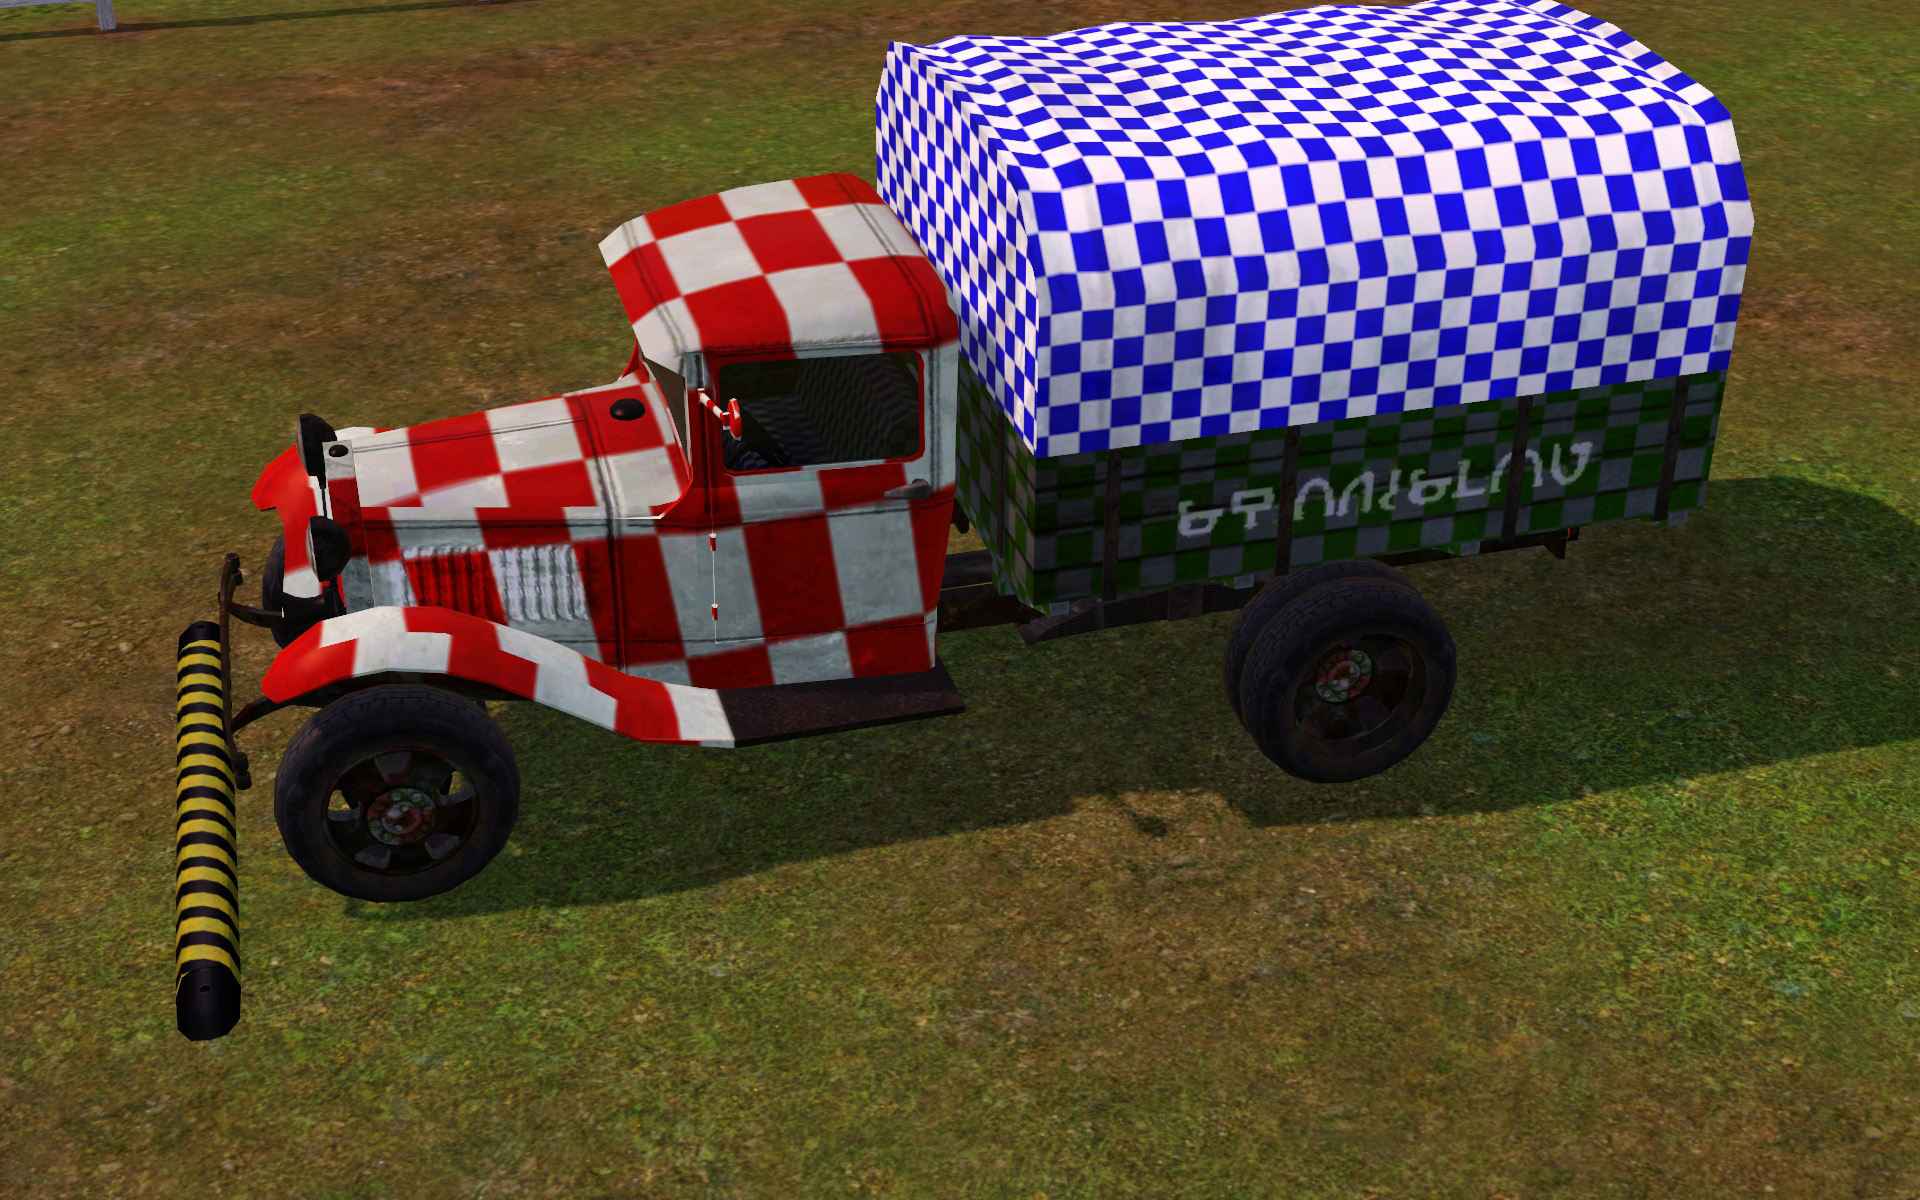
Soviet GAZ-AA with tent

Screenshot-78.jpg - width=1920 height=1200
Soviet GAZ-AA without tent


The Old Timers are back!
Hello, friends. I couldn't pass by this legendary vehicle, which was invented and built by Henry Ford in 1926. The truck was very popular in all World, and had alot of modifications and variants. The production of trucks Ford-AA was not only in USA, but from the 30s also in England and also in Soviet Union. There were no factories of Ford in USSR, so the production of the trucks was on Gorky Automobile Factory, and had been called - GAZ-AA. The model of truck was modificated alot of times. In USSR the trucks were equiped with reinforced chassis and more powerful engine to be more effective to the conditions of severe climate and difficult landscapes of this country. The truck was not the helper only, but also the veteran of World War II. The Red Army used this truck for transportation of people and cargo from the rear to the front. During the blockade of Leningrad (today is St. Petersburg) GAZ-AA was used for transportation of the food, things of first aid and other necessary things for people by frozen lake Ladoga. Also the truck's platform was used for place of the installation with the jet projectiles and anti-aircraft gun. The chasis of some models were changed to medical transport, bus and also the crane.
Features:
- Here're three types of vehicle: American, British and Soviet with some exterior differences and different functionality.
- Each truck has the 4 recolors.
- All labels are translated on simlish.
- The names and descriptions translated on all languages available in game.

- The model has the tented roof.
- It's able to transport four people: two in cabine and two others in the carriage.
- You may disable the tented roof in recolors.

- The model has the ramps of the carriage which you may disable in recolors.
- It's not able to transport people in the carrige, but you may place some things (for example you may place the audio and listen the music during the driving).

- The model has the right-sided steering wheel.
- The carrige has some little differences from american version. No enable/disable functionality.
- It's able to place the things as in american version.
In-Game Name: Ford-AA;
Price: 3852 simoleons;
Catalog Location: Buy Mode, Vehicles, Cars.
In-Game Name: Ford-AA "British" (Ford-AA "Saxon" for English and Russian localisation);
Price: 3852 simoleons;
Catalog Location: Buy Mode, Vehicles, Cars.
In-Game Name: GAZ-AA "Lorry";
Price: 3860 simoleons;
Catalog Location: Buy Mode, Vehicles, Cars.
Polygon Counts:
American Ford-AA:
14914 polygons.
British Ford-AA:
14177 polygons.
Soviet GAZ-AA:
14512 polygons.
Additional Credits:
Thanks to all people for your advices and consulting.
Special thanks to:
Frau_Engel
This is a new mesh, and means that it's a brand new self contained object that usually does not require a specific Pack (although this is possible depending on the type). It may have Recolours hosted on MTS - check below for more information.
| Filename | Size | Downloads | Date | |||||
|
FordAA-American.rar
| Ford-AA American version
Size: 4.76 MB · Downloads: 8,214 · 4th Aug 2014 |
4.76 MB | 8,214 | 4th Aug 2014 | |||||
|
GazAA-Lorry.rar
| Russian version of Ford-AA.
Size: 2.91 MB · Downloads: 7,062 · 4th Aug 2014 |
2.91 MB | 7,062 | 4th Aug 2014 | |||||
|
FordAA-British.rar
| Ford-AA British version, steering wheel is on the right side.
Size: 3.92 MB · Downloads: 6,303 · 4th Aug 2014 |
3.92 MB | 6,303 | 4th Aug 2014 | |||||
| For a detailed look at individual files, see the Information tab. | ||||||||
Key:
- - File was updated after upload was posted
Install Instructions
1. Click the file listed on the Files tab to download the file to your computer.
2. Extract the zip, rar, or 7z file. Now you will have either a .package or a .sims3pack file.
For Package files:
1. Cut and paste the file into your Documents\Electronic Arts\The Sims 3\Mods\Packages folder. If you do not already have this folder, you should read the full guide to Package files first: Sims 3:Installing Package Fileswiki, so you can make sure your game is fully patched and you have the correct Resource.cfg file.
2. Run the game, and find your content where the creator said it would be (build mode, buy mode, Create-a-Sim, etc.).
For Sims3Pack files:
1. Cut and paste it into your Documents\Electronic Arts\The Sims 3\Downloads folder. If you do not have this folder yet, it is recommended that you open the game and then close it again so that this folder will be automatically created. Then you can place the .sims3pack into your Downloads folder.
2. Load the game's Launcher, and click on the Downloads tab. Find the item in the list and tick the box beside it. Then press the Install button below the list.
3. Wait for the installer to load, and it will install the content to the game. You will get a message letting you know when it's done.
4. Run the game, and find your content where the creator said it would be (build mode, buy mode, Create-a-Sim, etc.).
Extracting from RAR, ZIP, or 7z: You will need a special program for this. For Windows, we recommend 7-Zip and for Mac OSX, we recommend Keka. Both are free and safe to use.
Need more help?
If you need more info, see:
- For package files: Sims 3:Installing Package Fileswiki
- For Sims3pack files: Game Help:Installing TS3 Packswiki
Packs Needed
| Base Game | |
|---|---|
 | Sims 3 |
| Stuff Pack | |
|---|---|
 | Fast Lane Stuff |

 Sign in to Mod The Sims
 Trucks Ford-AA and GAZ-AA
