Posts: 7,576
Thanks: 62608 in 143 Posts
31 Achievements
View My Journal
 Importing and applying an animation
Part 3: Importing and applying an animation.
First, a quick summary of how to export an animation in Sims 4 Studio: (Applies ONLY for TS4 SimRipper meshes.)
- Start S4S, click the Animation button with 'Clip Pack' selected.
- Give the package a name and save it.
- You'll get a screen with the package opened. Click the Studio / Clips tab. In the bottom section, select 'EA Clip'.
- Click the green 'Export' button. You'll get a list of EA animations. Select one and click Export. You'll get a blend with the animation.
1. Back in Blender, select the rig in the Scene listing in the upper right by clicking on it. If the visible joints (tiny lines that look like spots) bother you, hide the rig by clicking the eye next to it.
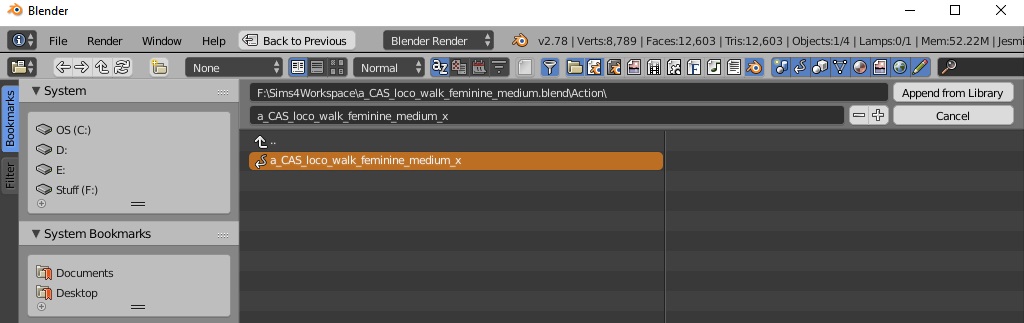
2. To append the animation, click File / Append and select the blend with your animation. You'll get a list of folders. Open 'Action' and select the animation. Click 'Append From Library'.
3. Click the button in the lower left corner of the Blender screen (the bottom row of controls) and select 'Dope Sheet'. Still in the bottom row, where it now says 'Dope Sheet', click and select 'Action Editor'.
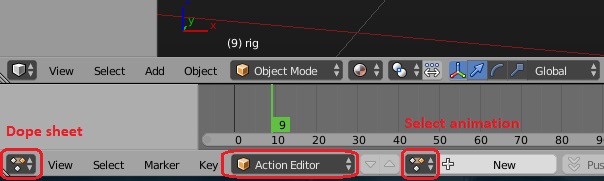
4. Click the button right next to where it now says '+ New' and select the animation.
5. Now you can click that bottom left corner button again and select Timeline, and drag the little green bar or use the playback buttons to move through the animation.
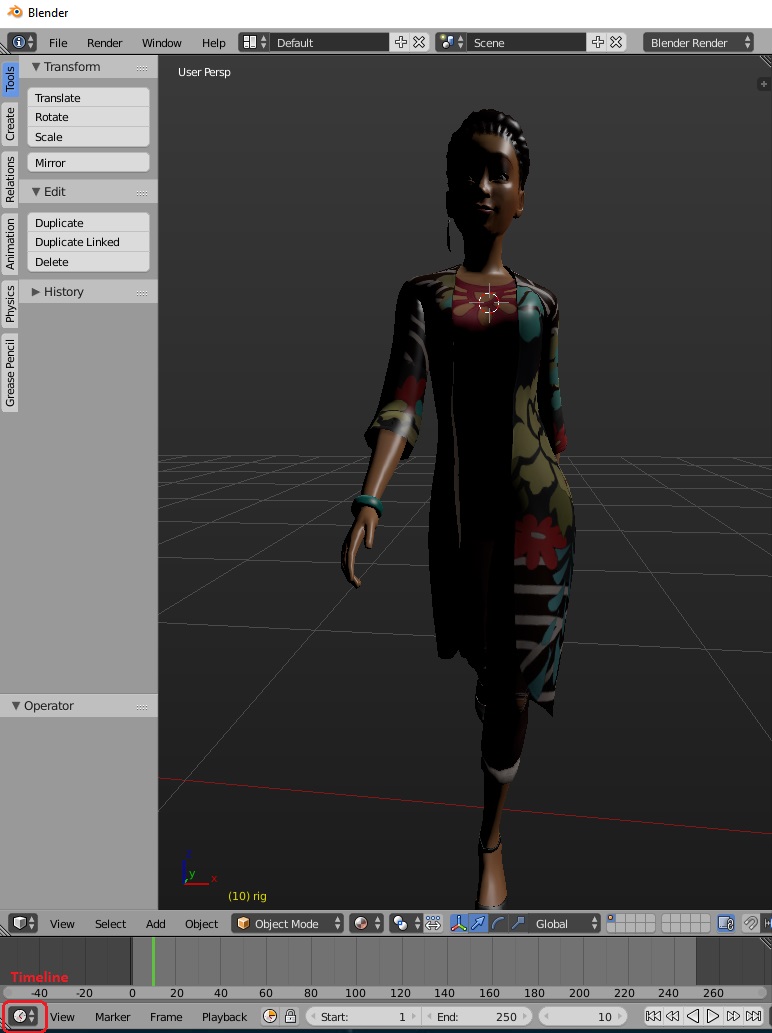
Yes, the scene is very dark. Tips on lighting are in the next section.
Please do not PM me with mod, tutorial, or general modding questions or problems; post them in the thread for the mod or tutorial or post them in the appropriate forum.
Visit my blogs for other Sims content:
Online Sims - general mods for Sims 3
Offline Sims - adult mods for Sims 3 and Sims 4
 31st Mar 2020 at 3:41 PM