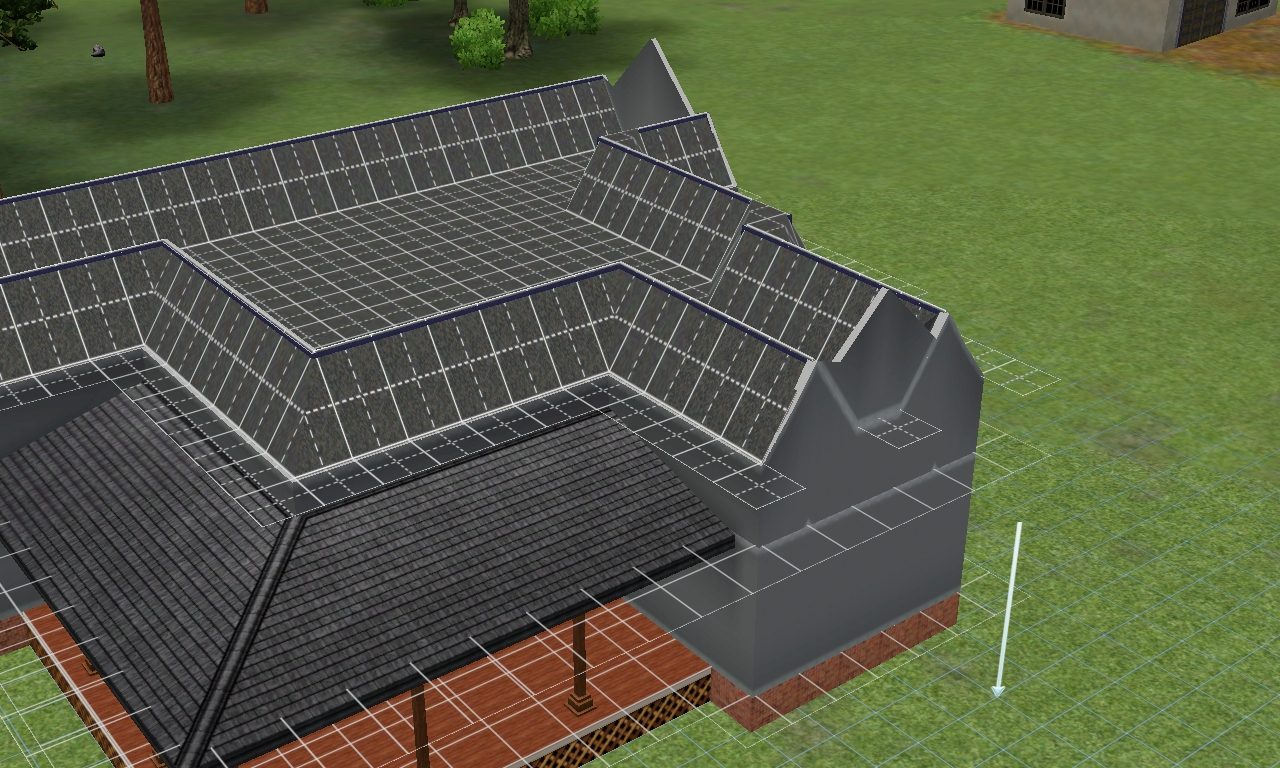
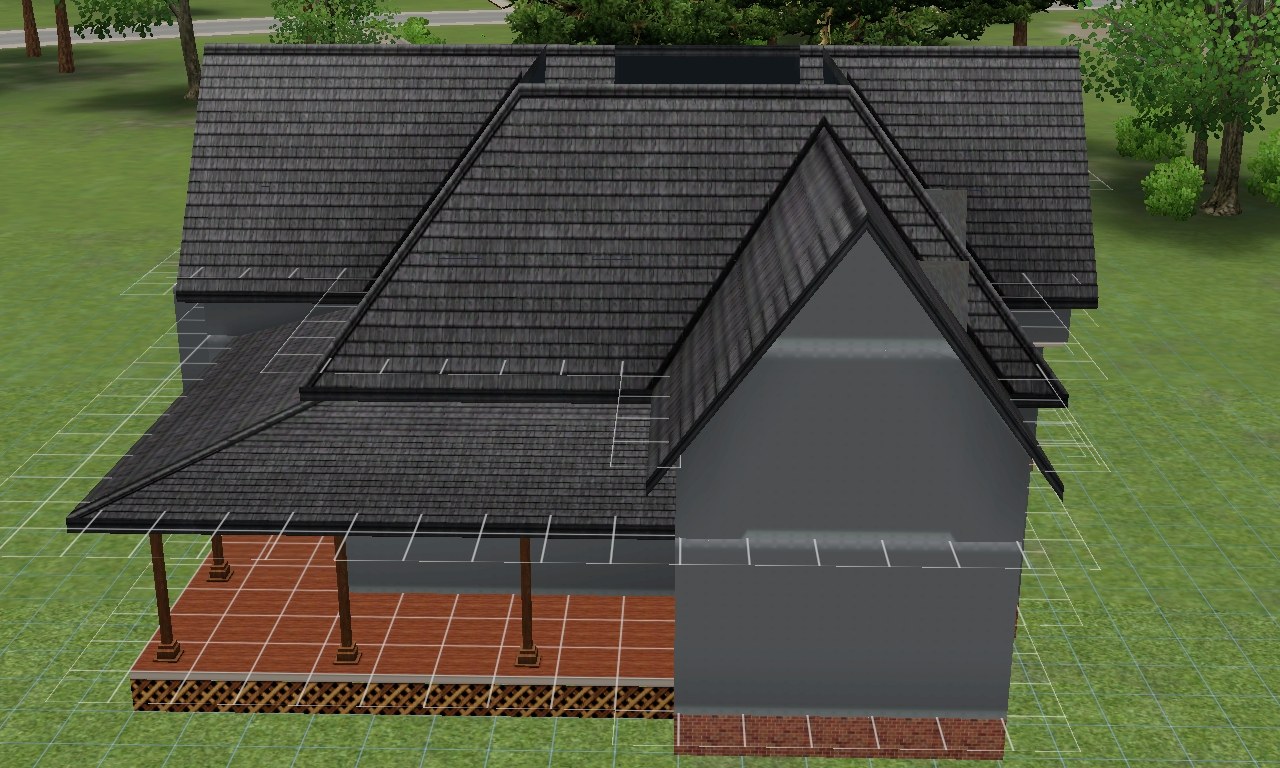
Once the leveling from 'Stage 1.' has been done you can add the roof, I strongly advise you to avoid 'auto roof', it's no good. Make sure you put gables where you've planned on putting them (where the interior upstairs walls connect with the exterior ones) and bear in mind whether you want to have a further attic/flat roof, don't use the mansard roof tool, just use the hiped half roofs like so:
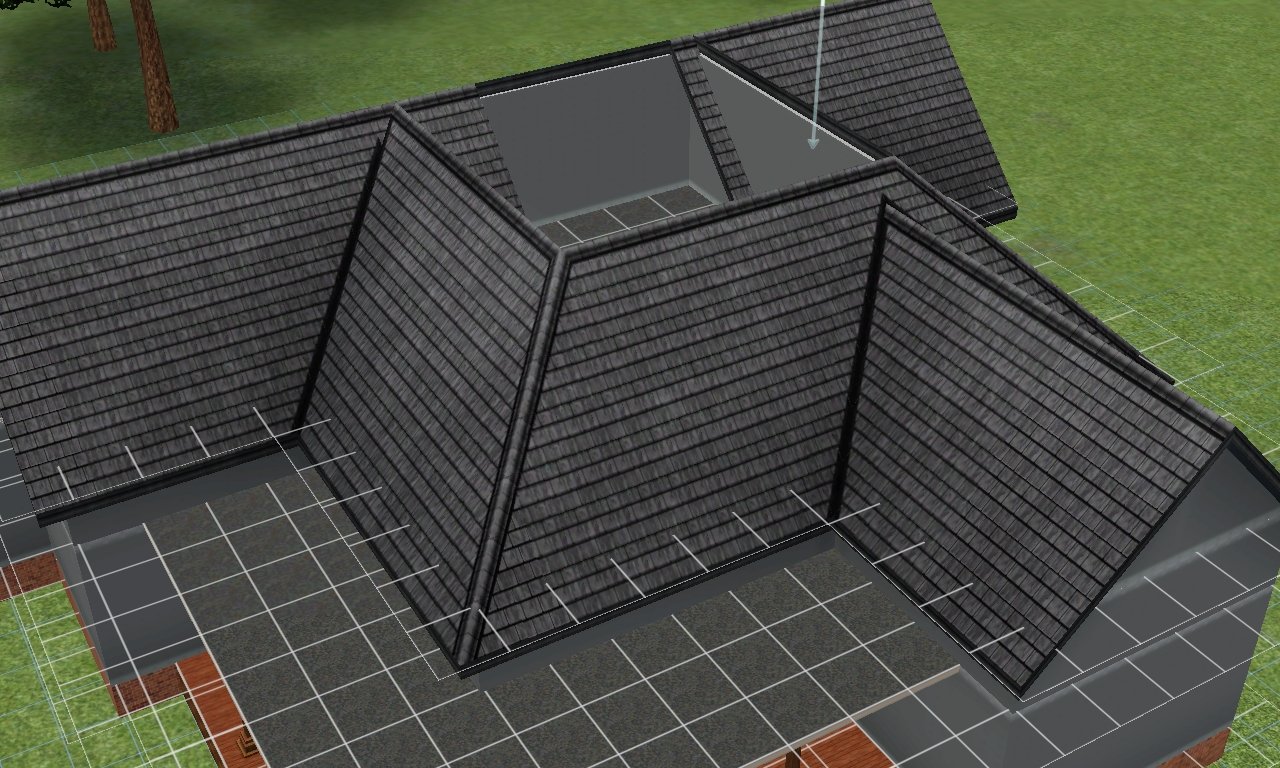
Once you have successfully placed the roofs, I suggest removing all the walls they create, except the gable walls, keep them.
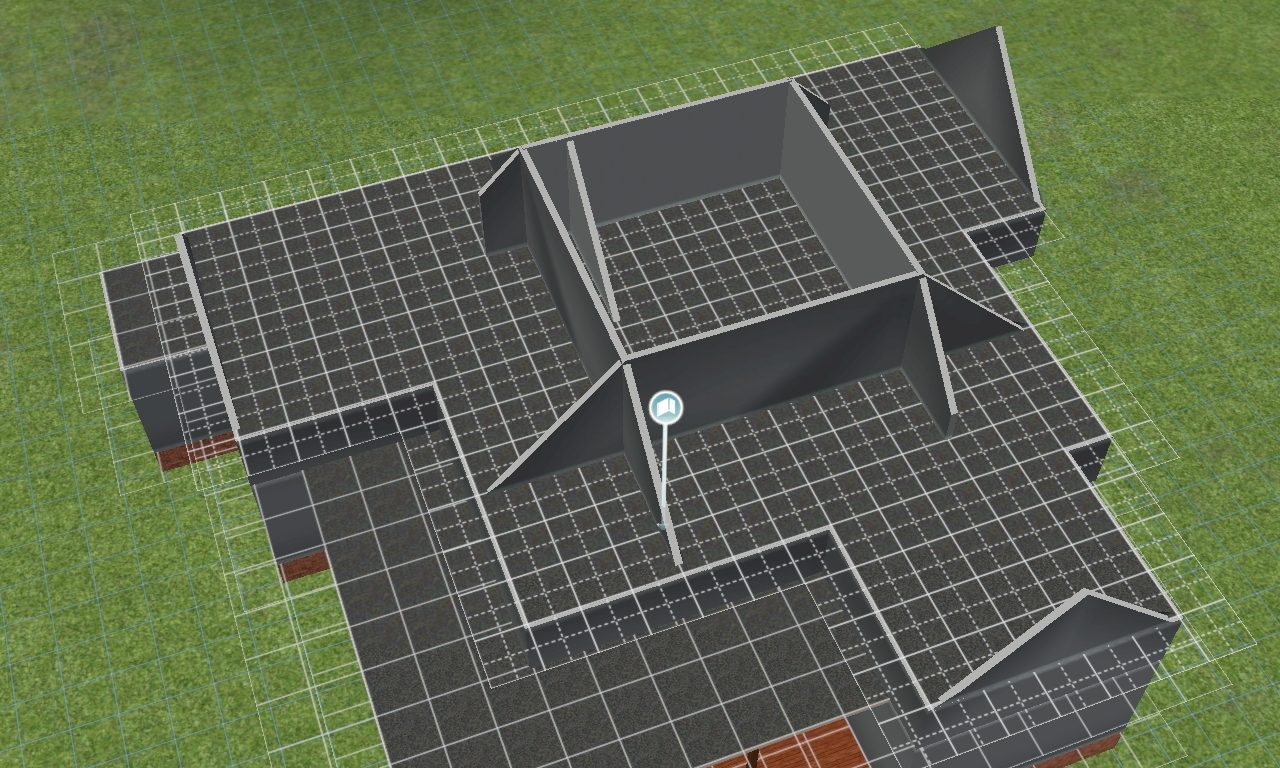
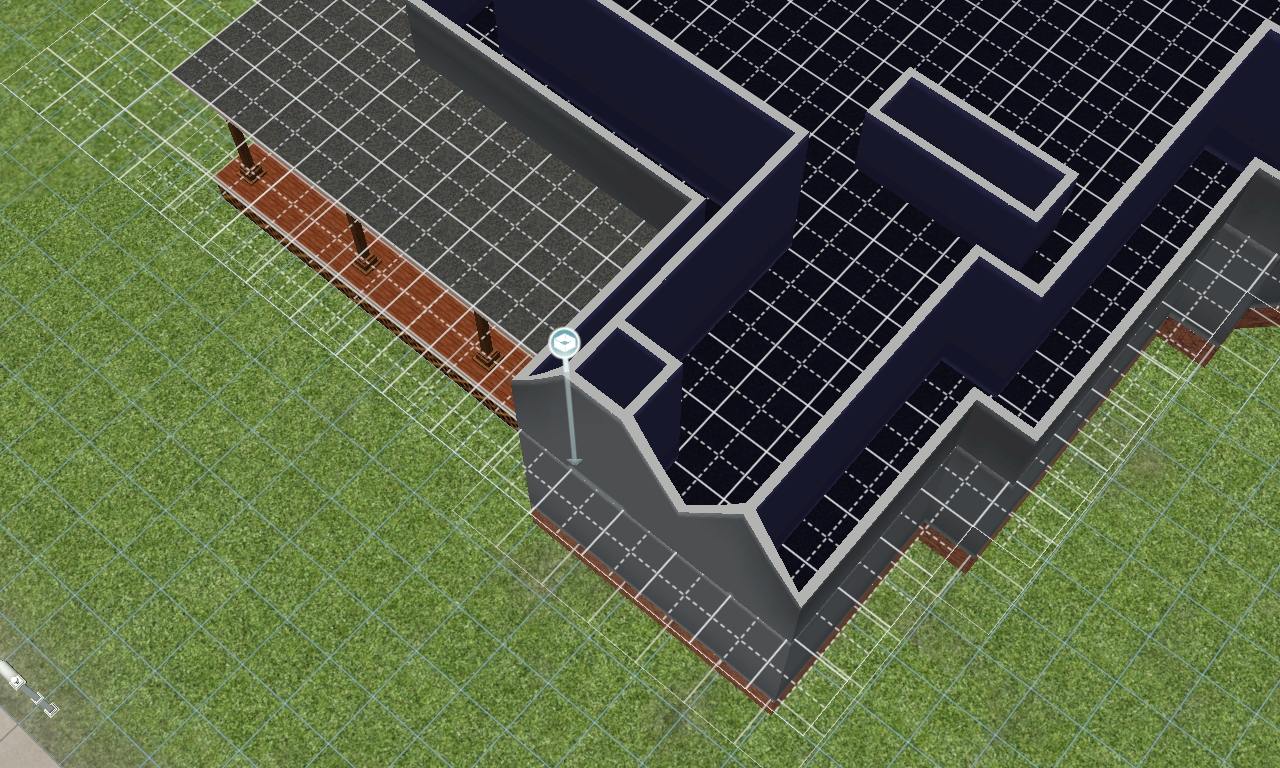
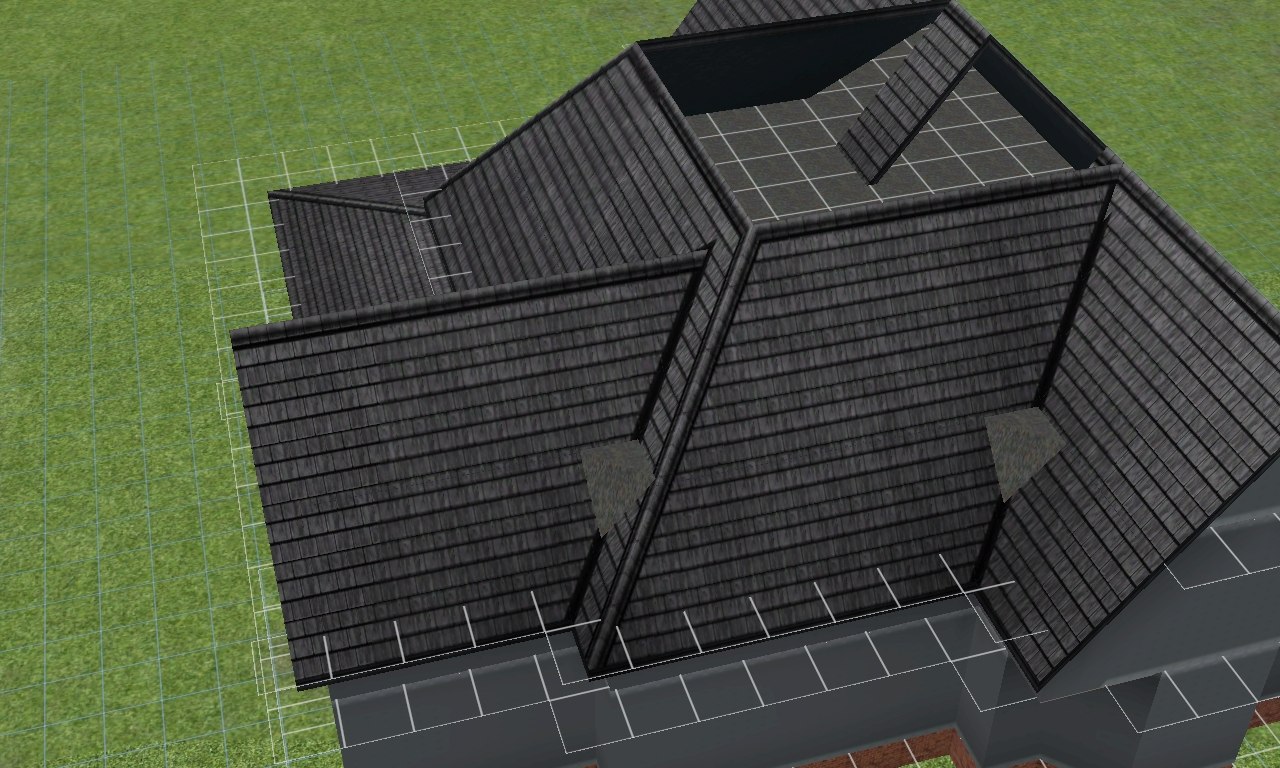
Next step, replace all the interior upstairs walls from stage 1 ( where you left the tile's width all the way around, except for connecting to the gable walls). Like so:
This should leave you with an outcome like so:

Now you need to creat a small 1 by 1 sized room in a corner which will be inside the usable part of the upstairs, like so:
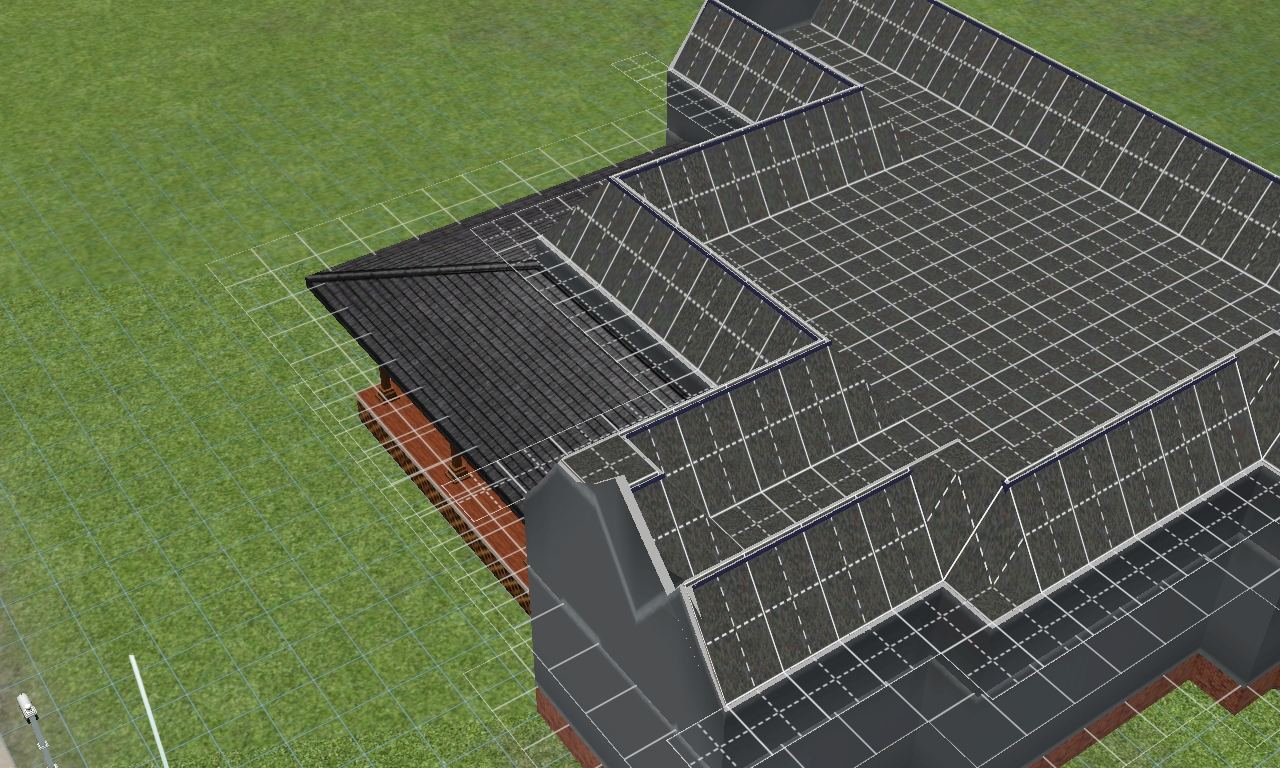
The use the leveling tool and drag it over all of the upstairs which is within the area surrounded by the tile's with partition of the exterior walls and where it connects with the gable walls like so making sure to leave the exterior walls, excluding the gable walls, at the height they were lowered to with the use of the stairs, like so:
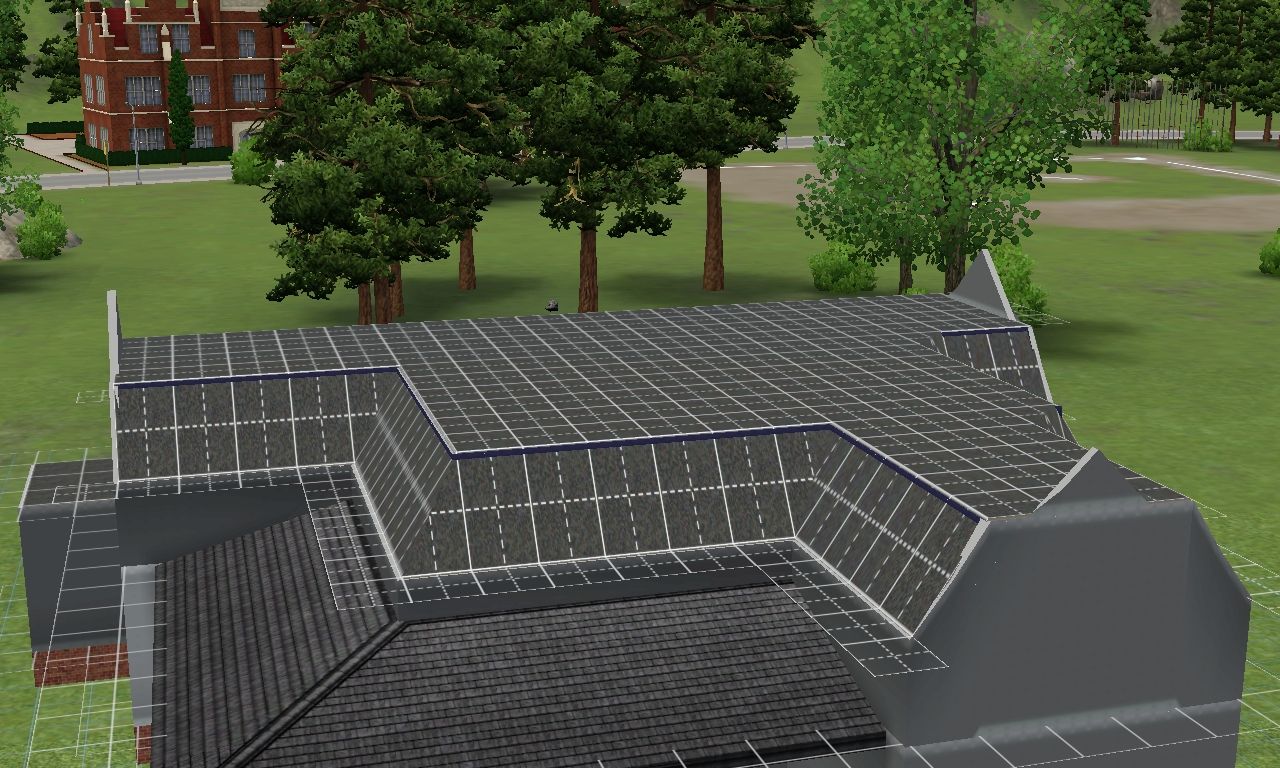

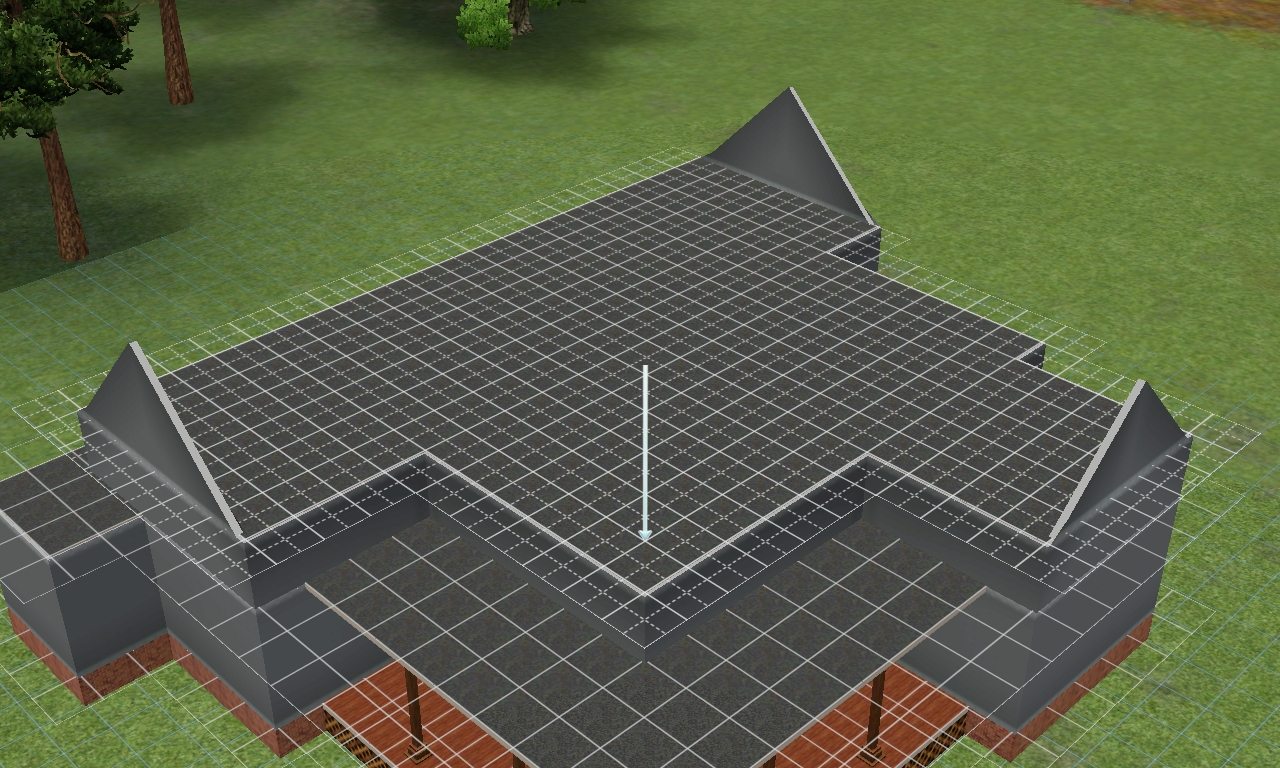
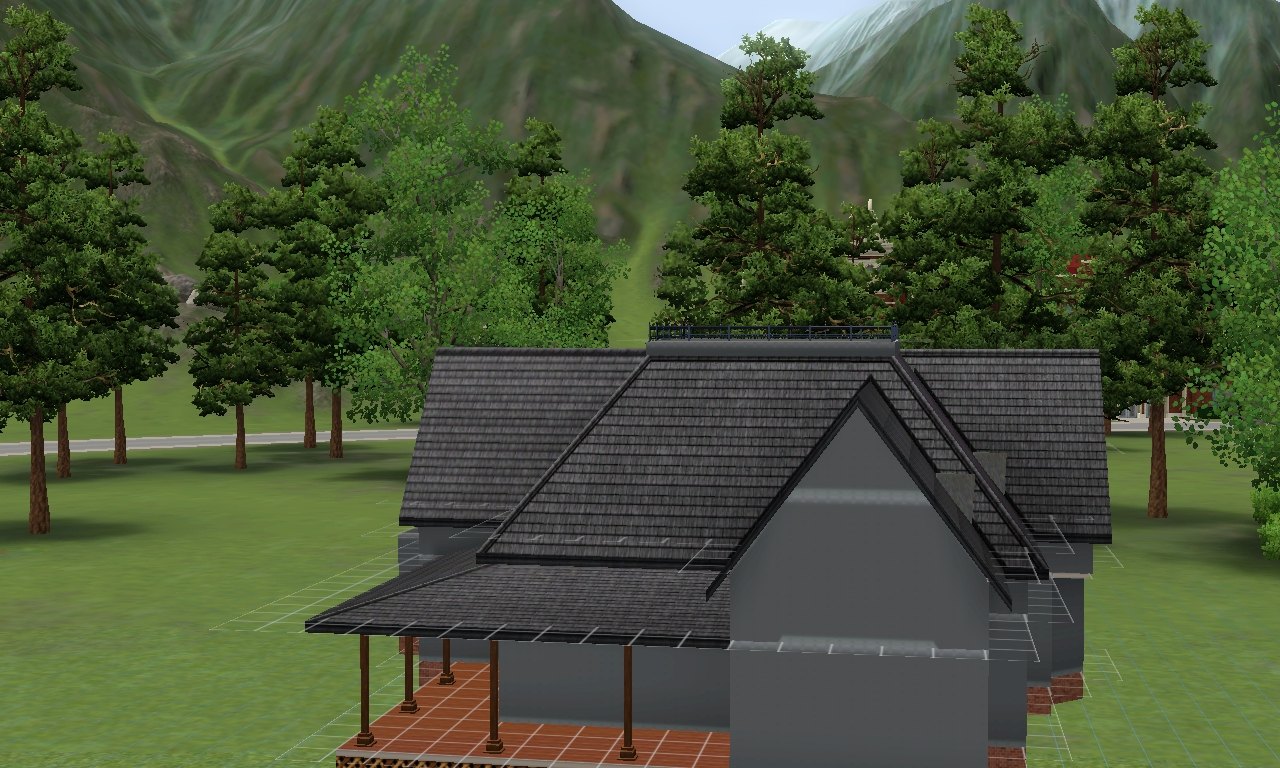
Now it's time to fiddle about with the pitch of the roofs, I suggest the slidder which works all of the roofs and then use the individual roof adjusting tool on roofs for porches to make them as shallow as possible. You should try to set the pitch so that you can't see the top of the newly adjust area, except where you are going to have a flat mansard roof, which is why there's a large whole in the roof of this house, like so:
In the area under the large whole is where I am going to put another room to act as an attic, like so:
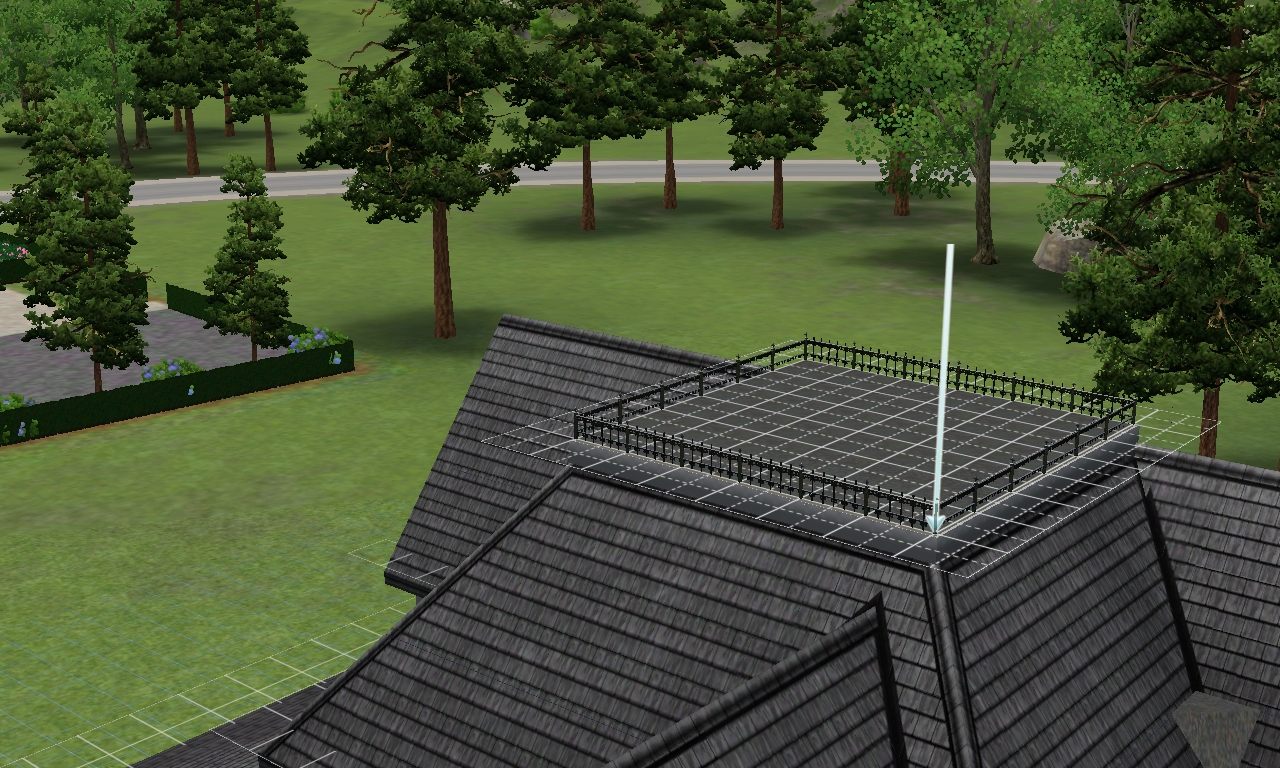
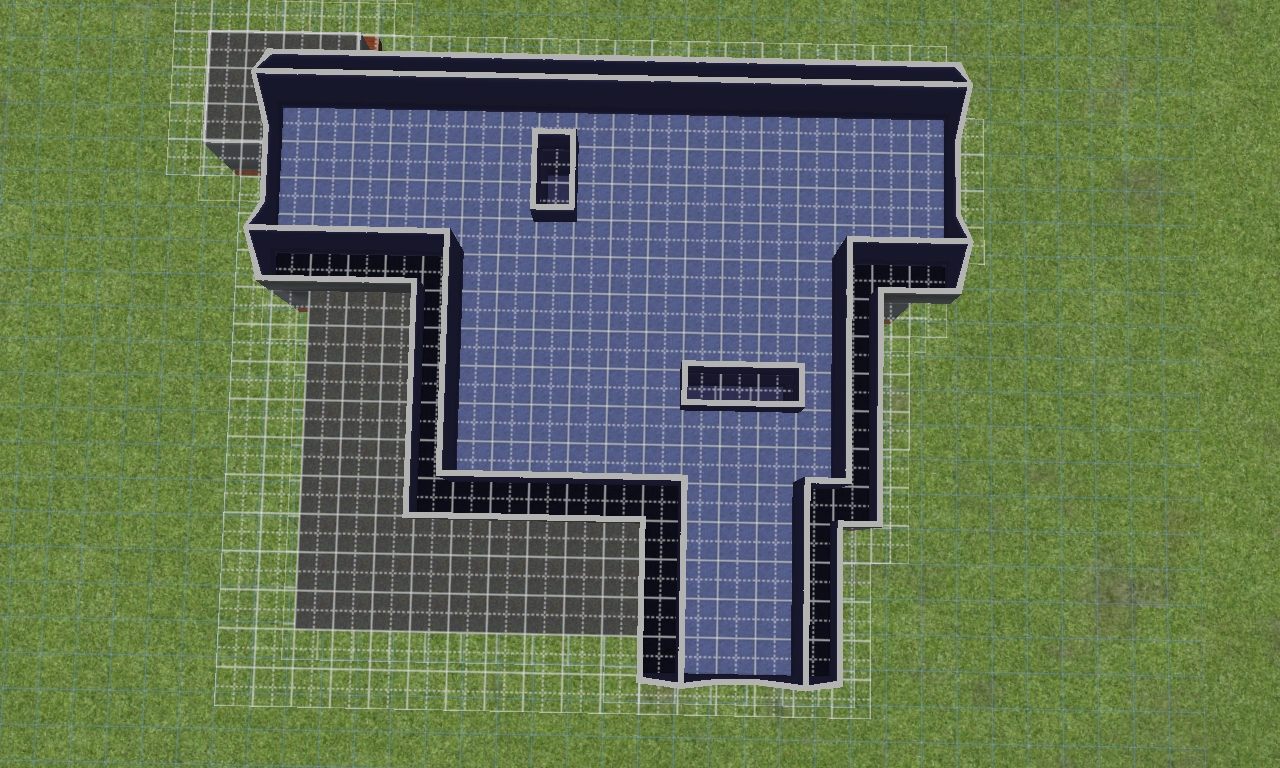
The put a floor above this room to create the flat mansard roof like what is pictured above, you can then put a fence on it for decoration. Don't worry about the odd floor tiles poking out of the roof from corners, provided they are above the tile's width between the interior and exterior walls of the upper floors, they will be removed later.
And so concludes Stage 2. Please feel free to send me a message with any pointers/tips for improvement

I will try to get the concluding stage 3 uploaded soon, but for now, I NEED SLEEP!
 Sign in to Mod The Sims


 I will try to get the concluding stage 3 uploaded soon, but for now, I NEED SLEEP!