 Norse Gods Tattoos - Loki & Thor
MTS has all free content, all the time. Donate to help keep it running.
SCREENSHOTS
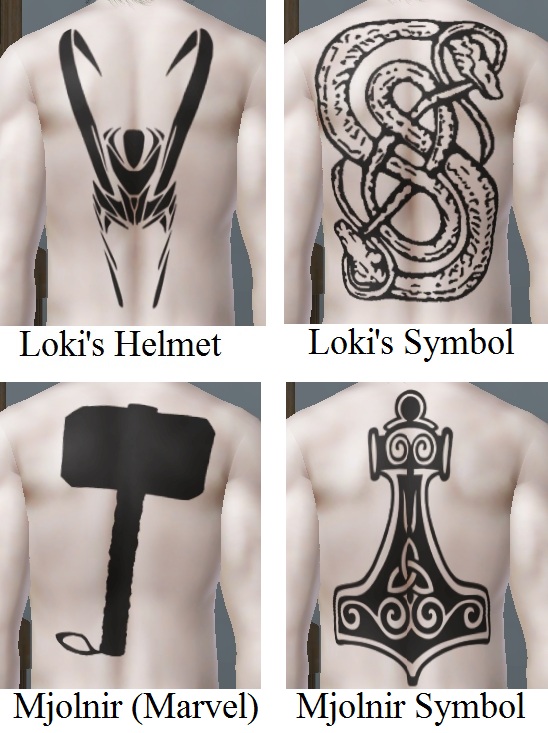
Tats Male.jpg - width=548 height=733
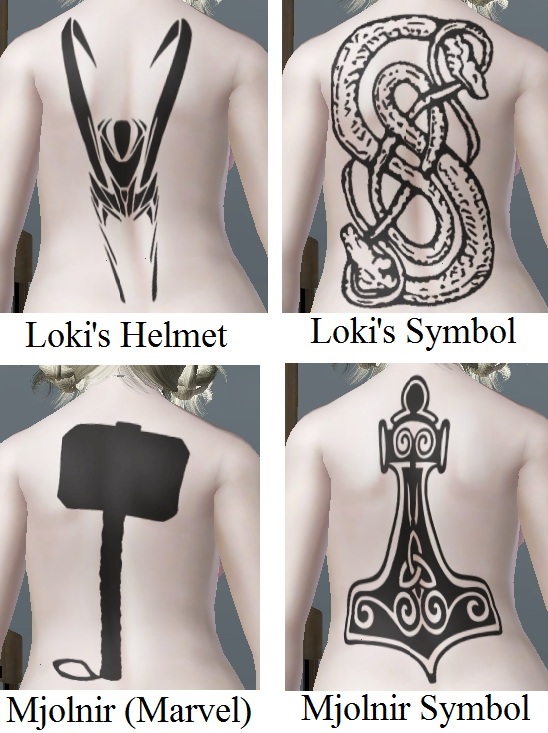
Tats Female.jpg - width=548 height=733
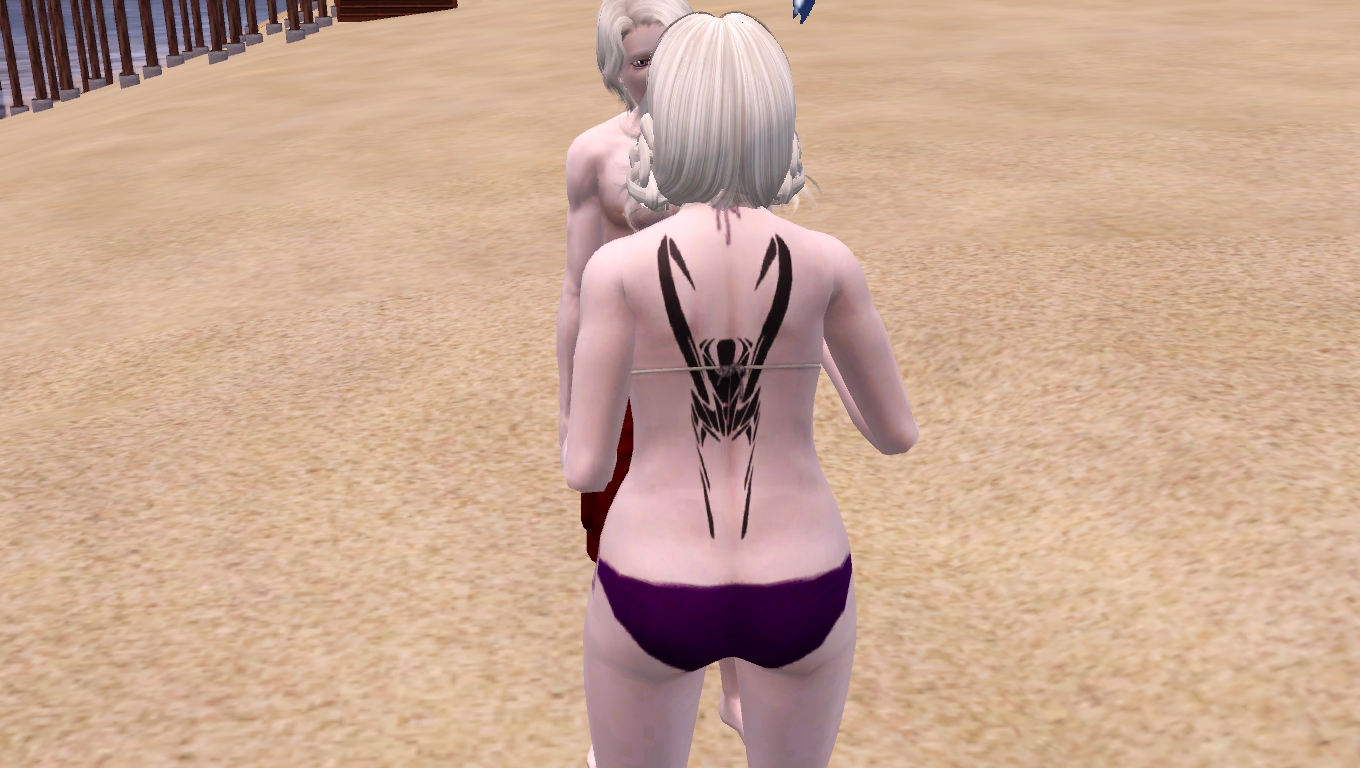
Loki's Helmet in-game.jpg - width=1360 height=768
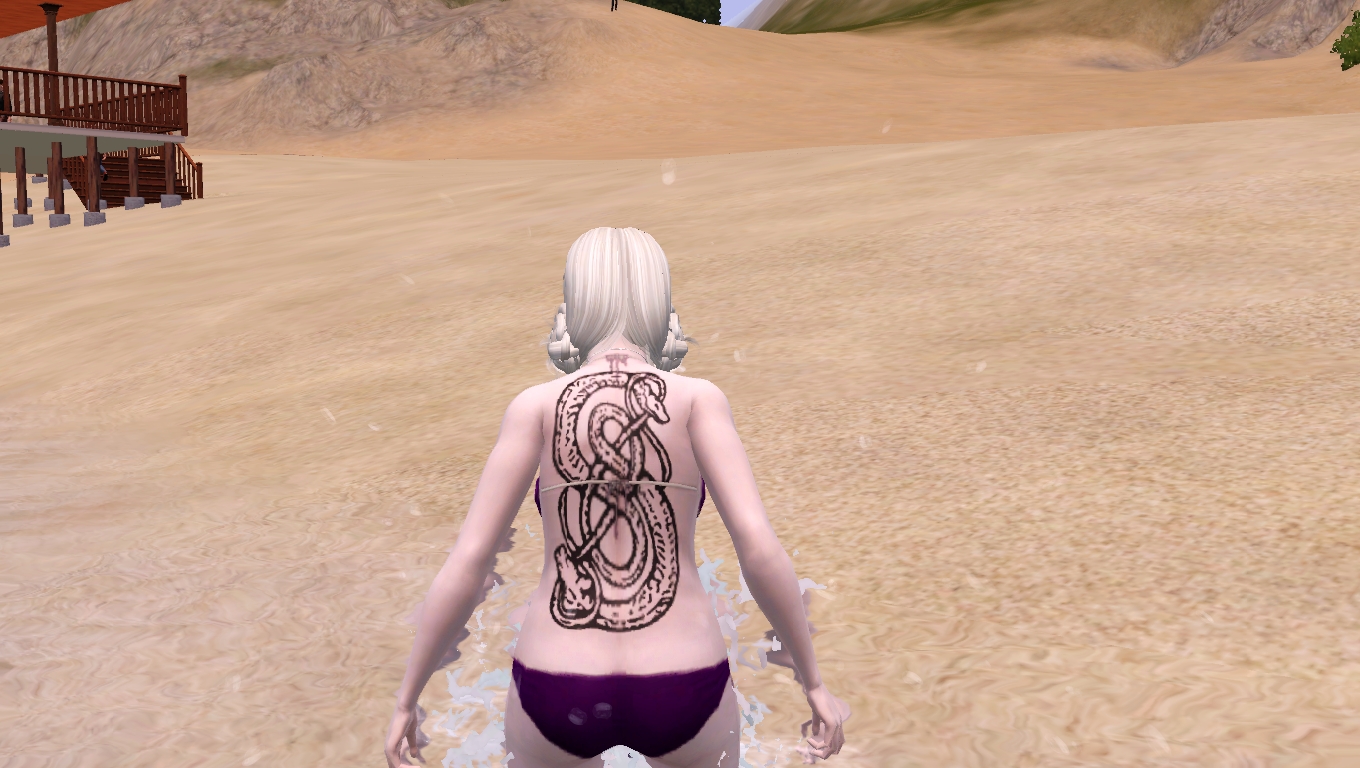
Loki's Symbol in-game.jpg - width=1360 height=768
in-game.jpg)
Mjolnir (Marvel) in-game.jpg - width=1360 height=768
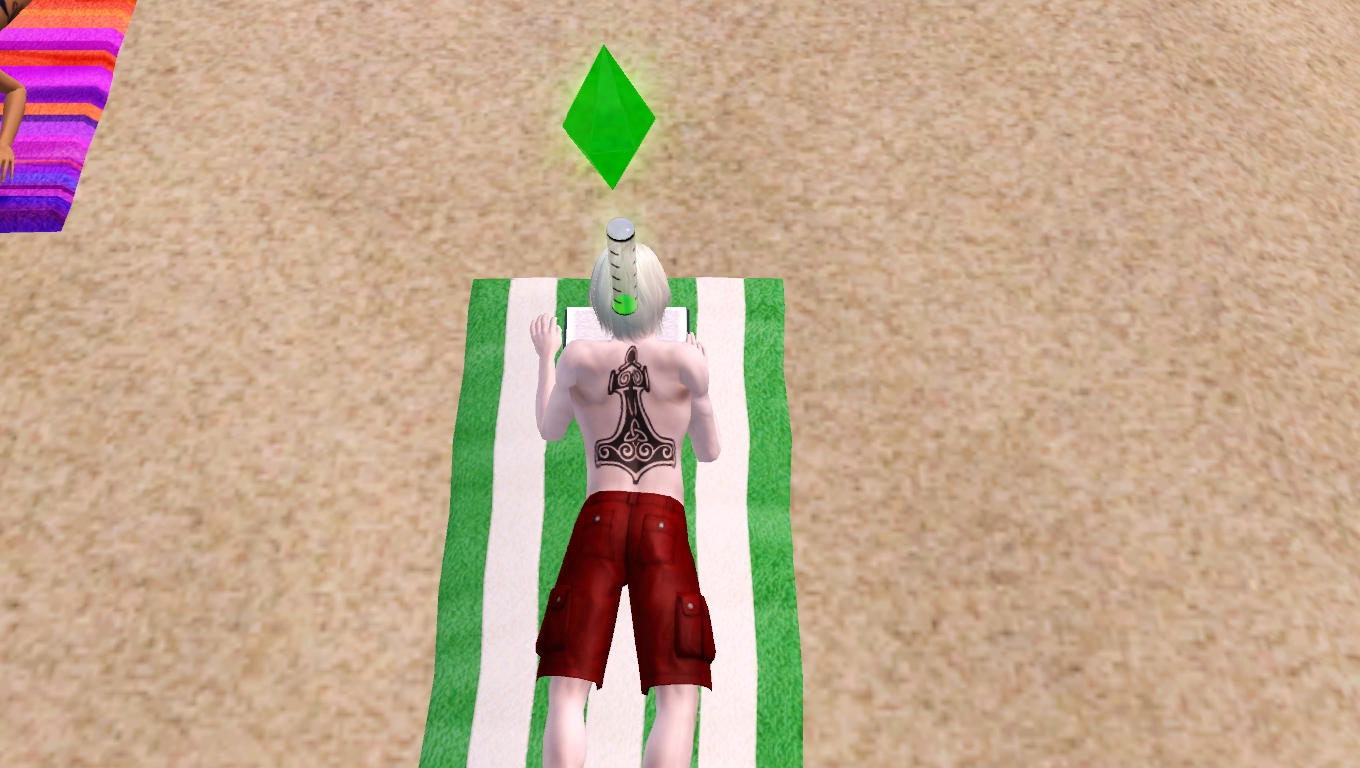
Mjolnir Symbol in-game.jpg - width=1360 height=768
My first ever cc creation, although 'create' is a bit of stretch all things considered.
Because of reasons, I wanted a tattoo of MCU Loki's helmet. I couldn't find one anywhere, so I made it myself using CmarNYC's Tattooinator; then one thing led to another, and thus the others were born. I figured someone else may like them, so I decided to share. I'm generous like that.
They are four tattoos: two related to Marvel's version of Loki and Thor:

in-game.jpg)
and the other two are the actual symbols (mythology-wise) for my two favourite dudes:


All are usable by both genders and are for teens to elders. All are one channel, recolourable, and all but Loki's helmet come with black, red, and sliver presets; the helmet comes with black, gold, and red presets. They should in theory only need the Ambitions patch to work, but as I have the expansion installed, I don't know for sure.
Additional Credits:
Thanks to CmarNYC for both creating the Tattoinator tool and the easy-to-follow tutorial, whoever created GIMP, the friend who directed me to GIMP in the first place, and the moment of absolute boredom that birthed the need for these new inks.
Because of reasons, I wanted a tattoo of MCU Loki's helmet. I couldn't find one anywhere, so I made it myself using CmarNYC's Tattooinator; then one thing led to another, and thus the others were born. I figured someone else may like them, so I decided to share. I'm generous like that.
They are four tattoos: two related to Marvel's version of Loki and Thor:

in-game.jpg)
and the other two are the actual symbols (mythology-wise) for my two favourite dudes:


All are usable by both genders and are for teens to elders. All are one channel, recolourable, and all but Loki's helmet come with black, red, and sliver presets; the helmet comes with black, gold, and red presets. They should in theory only need the Ambitions patch to work, but as I have the expansion installed, I don't know for sure.
Additional Credits:
Thanks to CmarNYC for both creating the Tattoinator tool and the easy-to-follow tutorial, whoever created GIMP, the friend who directed me to GIMP in the first place, and the moment of absolute boredom that birthed the need for these new inks.
| Filename | Size | Downloads | Date | |||||
|
Norse Tattoos pack.zip
| Contains separate files for each tattoo and a merged file.
Size: 588.4 KB · Downloads: 7,814 · 5th Nov 2015 |
588.4 KB | 7,814 | 5th Nov 2015 | |||||
| For a detailed look at individual files, see the Information tab. | ||||||||
Key:
- - File was updated after upload was posted
Install Instructions
Quick Guide:
1. Click the file listed on the Files tab to download the file to your computer.
2. Extract the zip, rar, or 7z file. Now you will have either a .package or a .sims3pack file.
For Package files:
1. Cut and paste the file into your Documents\Electronic Arts\The Sims 3\Mods\Packages folder. If you do not already have this folder, you should read the full guide to Package files first: Sims 3:Installing Package Fileswiki, so you can make sure your game is fully patched and you have the correct Resource.cfg file.
2. Run the game, and find your content where the creator said it would be (build mode, buy mode, Create-a-Sim, etc.).
For Sims3Pack files:
1. Cut and paste it into your Documents\Electronic Arts\The Sims 3\Downloads folder. If you do not have this folder yet, it is recommended that you open the game and then close it again so that this folder will be automatically created. Then you can place the .sims3pack into your Downloads folder.
2. Load the game's Launcher, and click on the Downloads tab. Find the item in the list and tick the box beside it. Then press the Install button below the list.
3. Wait for the installer to load, and it will install the content to the game. You will get a message letting you know when it's done.
4. Run the game, and find your content where the creator said it would be (build mode, buy mode, Create-a-Sim, etc.).
Extracting from RAR, ZIP, or 7z: You will need a special program for this. For Windows, we recommend 7-Zip and for Mac OSX, we recommend Keka. Both are free and safe to use.
Need more help?
If you need more info, see:
- For package files: Sims 3:Installing Package Fileswiki
- For Sims3pack files: Game Help:Installing TS3 Packswiki
Also Thanked - Users who thanked this download also thanked:
Packs Needed
| Base Game | |
|---|---|
 | Sims 3 |
| Expansion Pack | |
|---|---|
 | Ambitions |

 Sign in to Mod The Sims
 Norse Gods Tattoos - Loki & Thor


More Downloads BETA
Here are some more of my downloads: